Just wing it'
Day 2 of wing build (I think)
So a lots been going on and its hard to keep up with the days and progress and what I'm working on. I have terrible A.D.D. and get bored easily mixed with being a one man shop, I am constantly juggling multiple projects going back and forth. Given the new shop is 40 minutes away and I have not moved into the new house yet (needs renovation), I've kept some stuff to work on at my current house for days like today when I can't make it to the shop. So onwards with the wing!
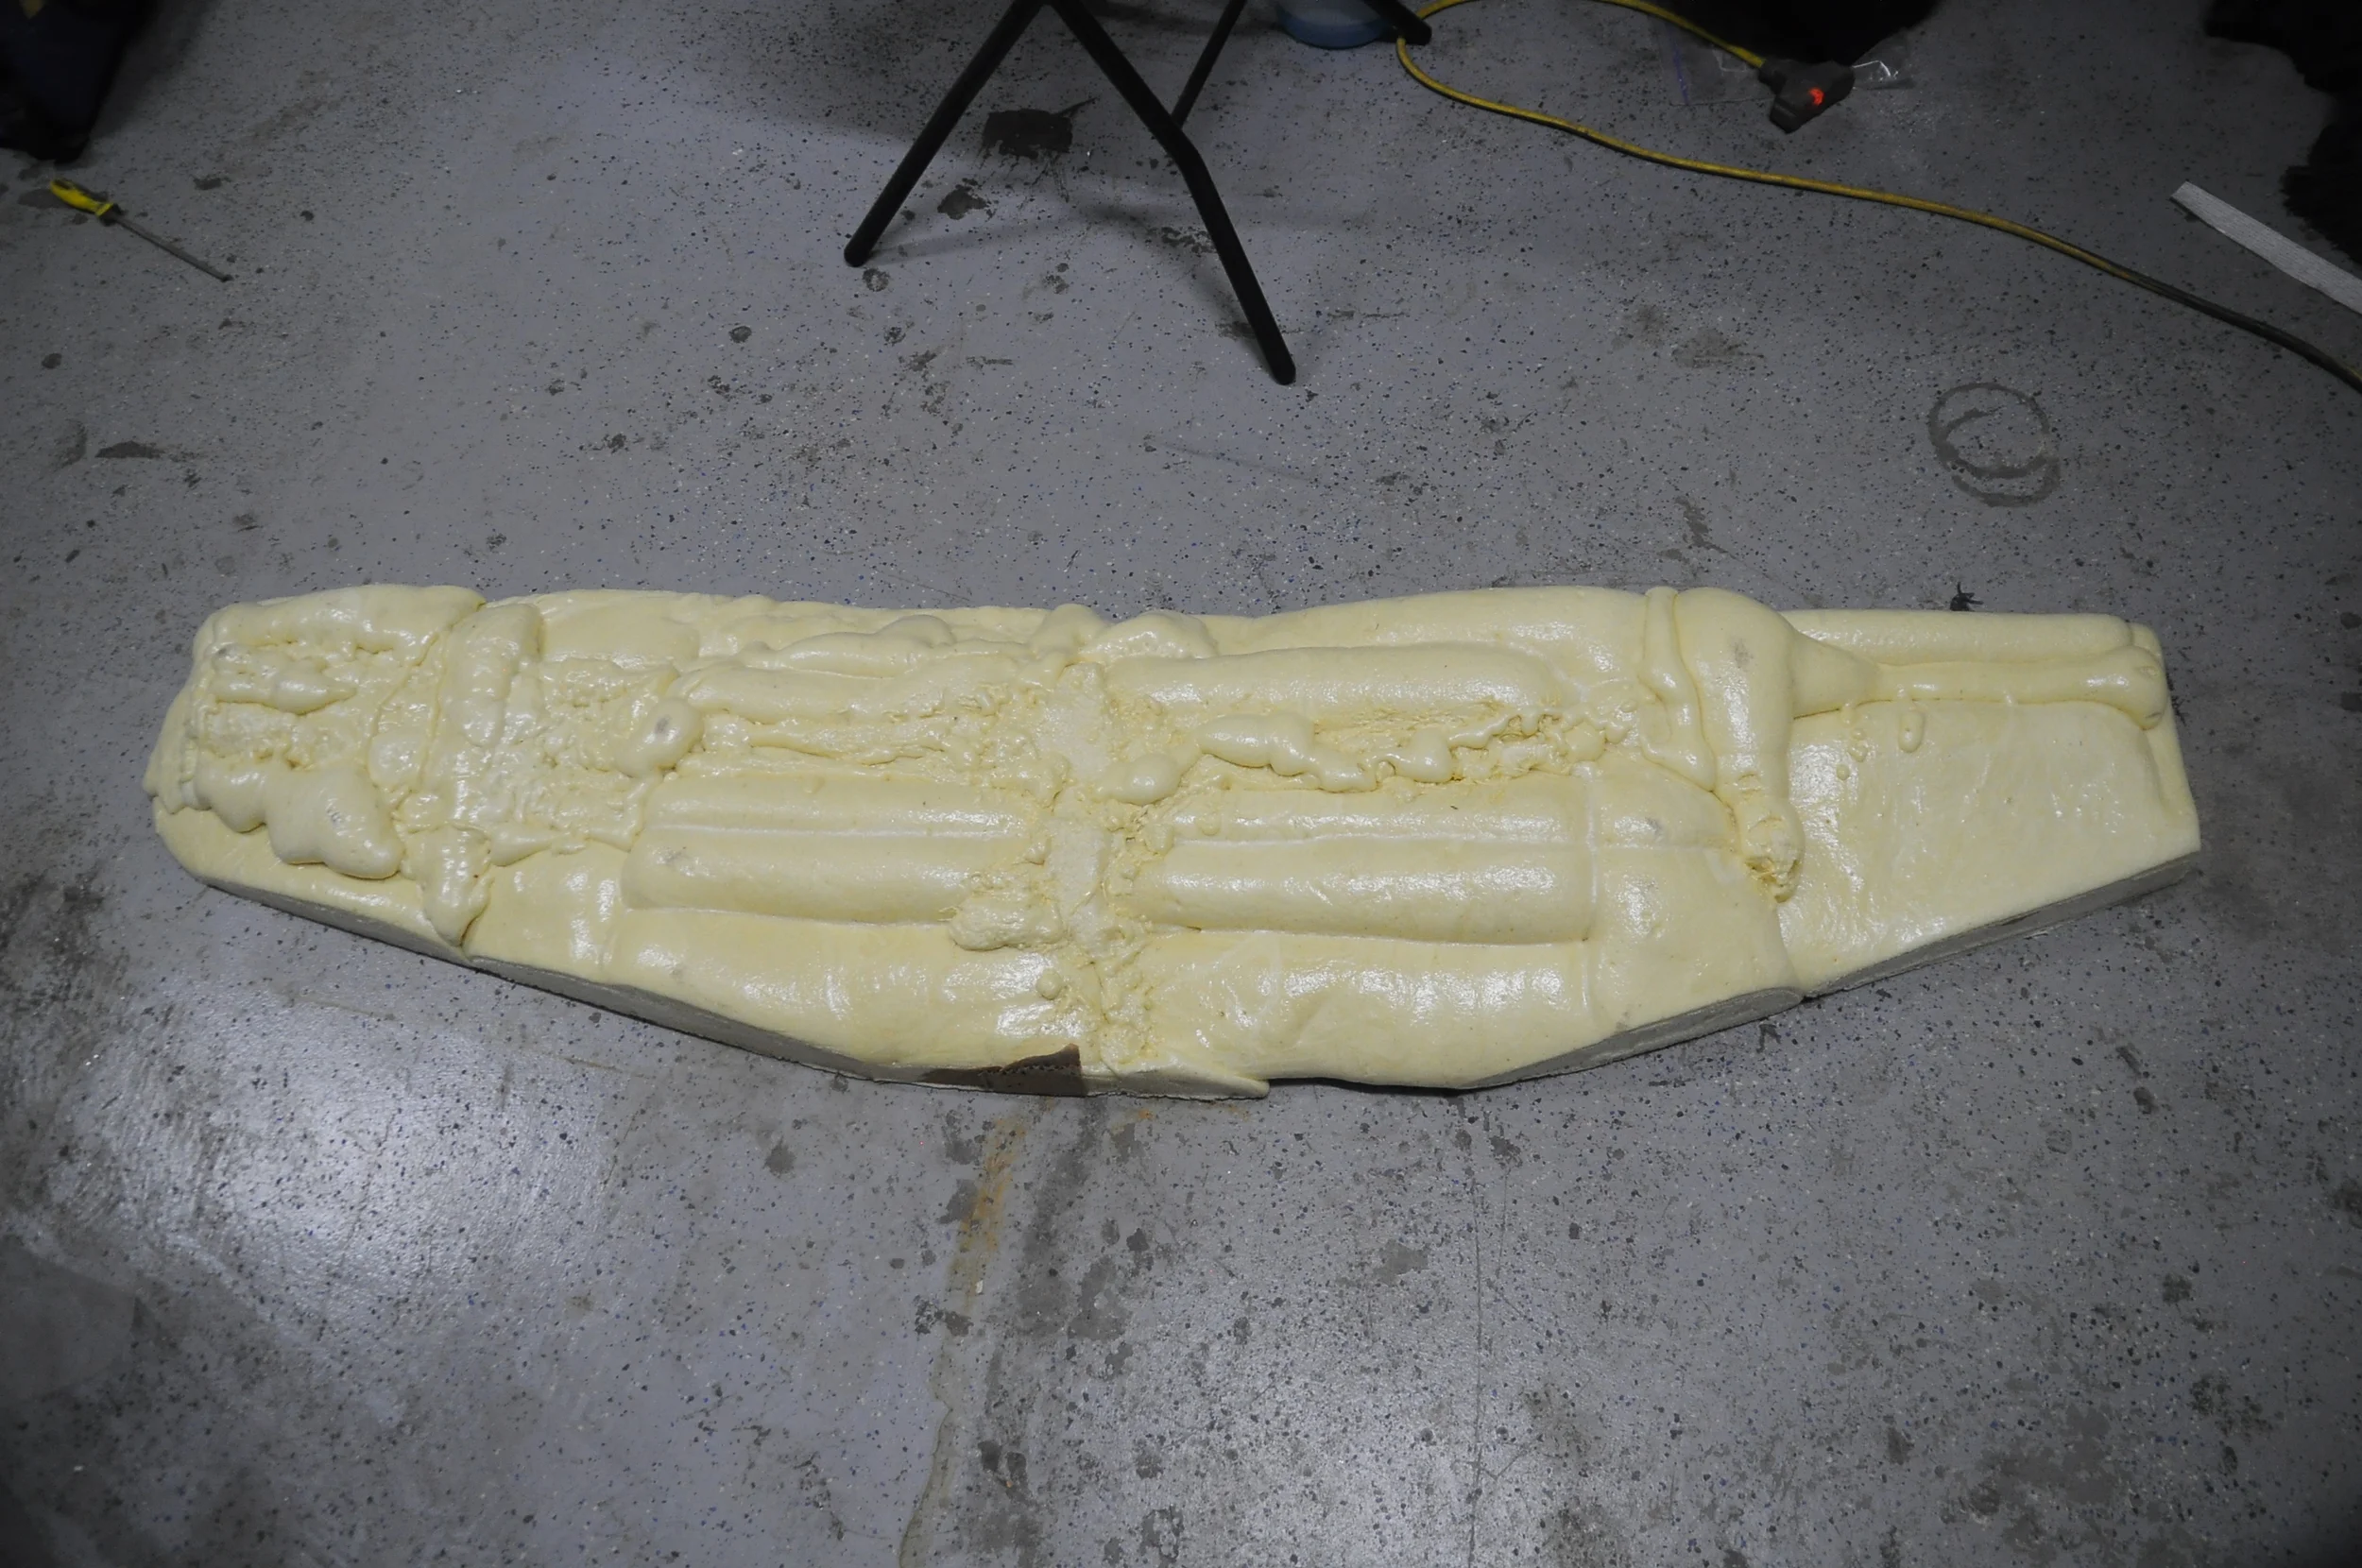
First up was de-molding the foam plug. I unscrewed the wood walls from the mold and began prying off the foam from the wooden base. Although I use wax/mold release, it did take some massaging to break loose -- my guess is because the foam is so porous it still stuck.
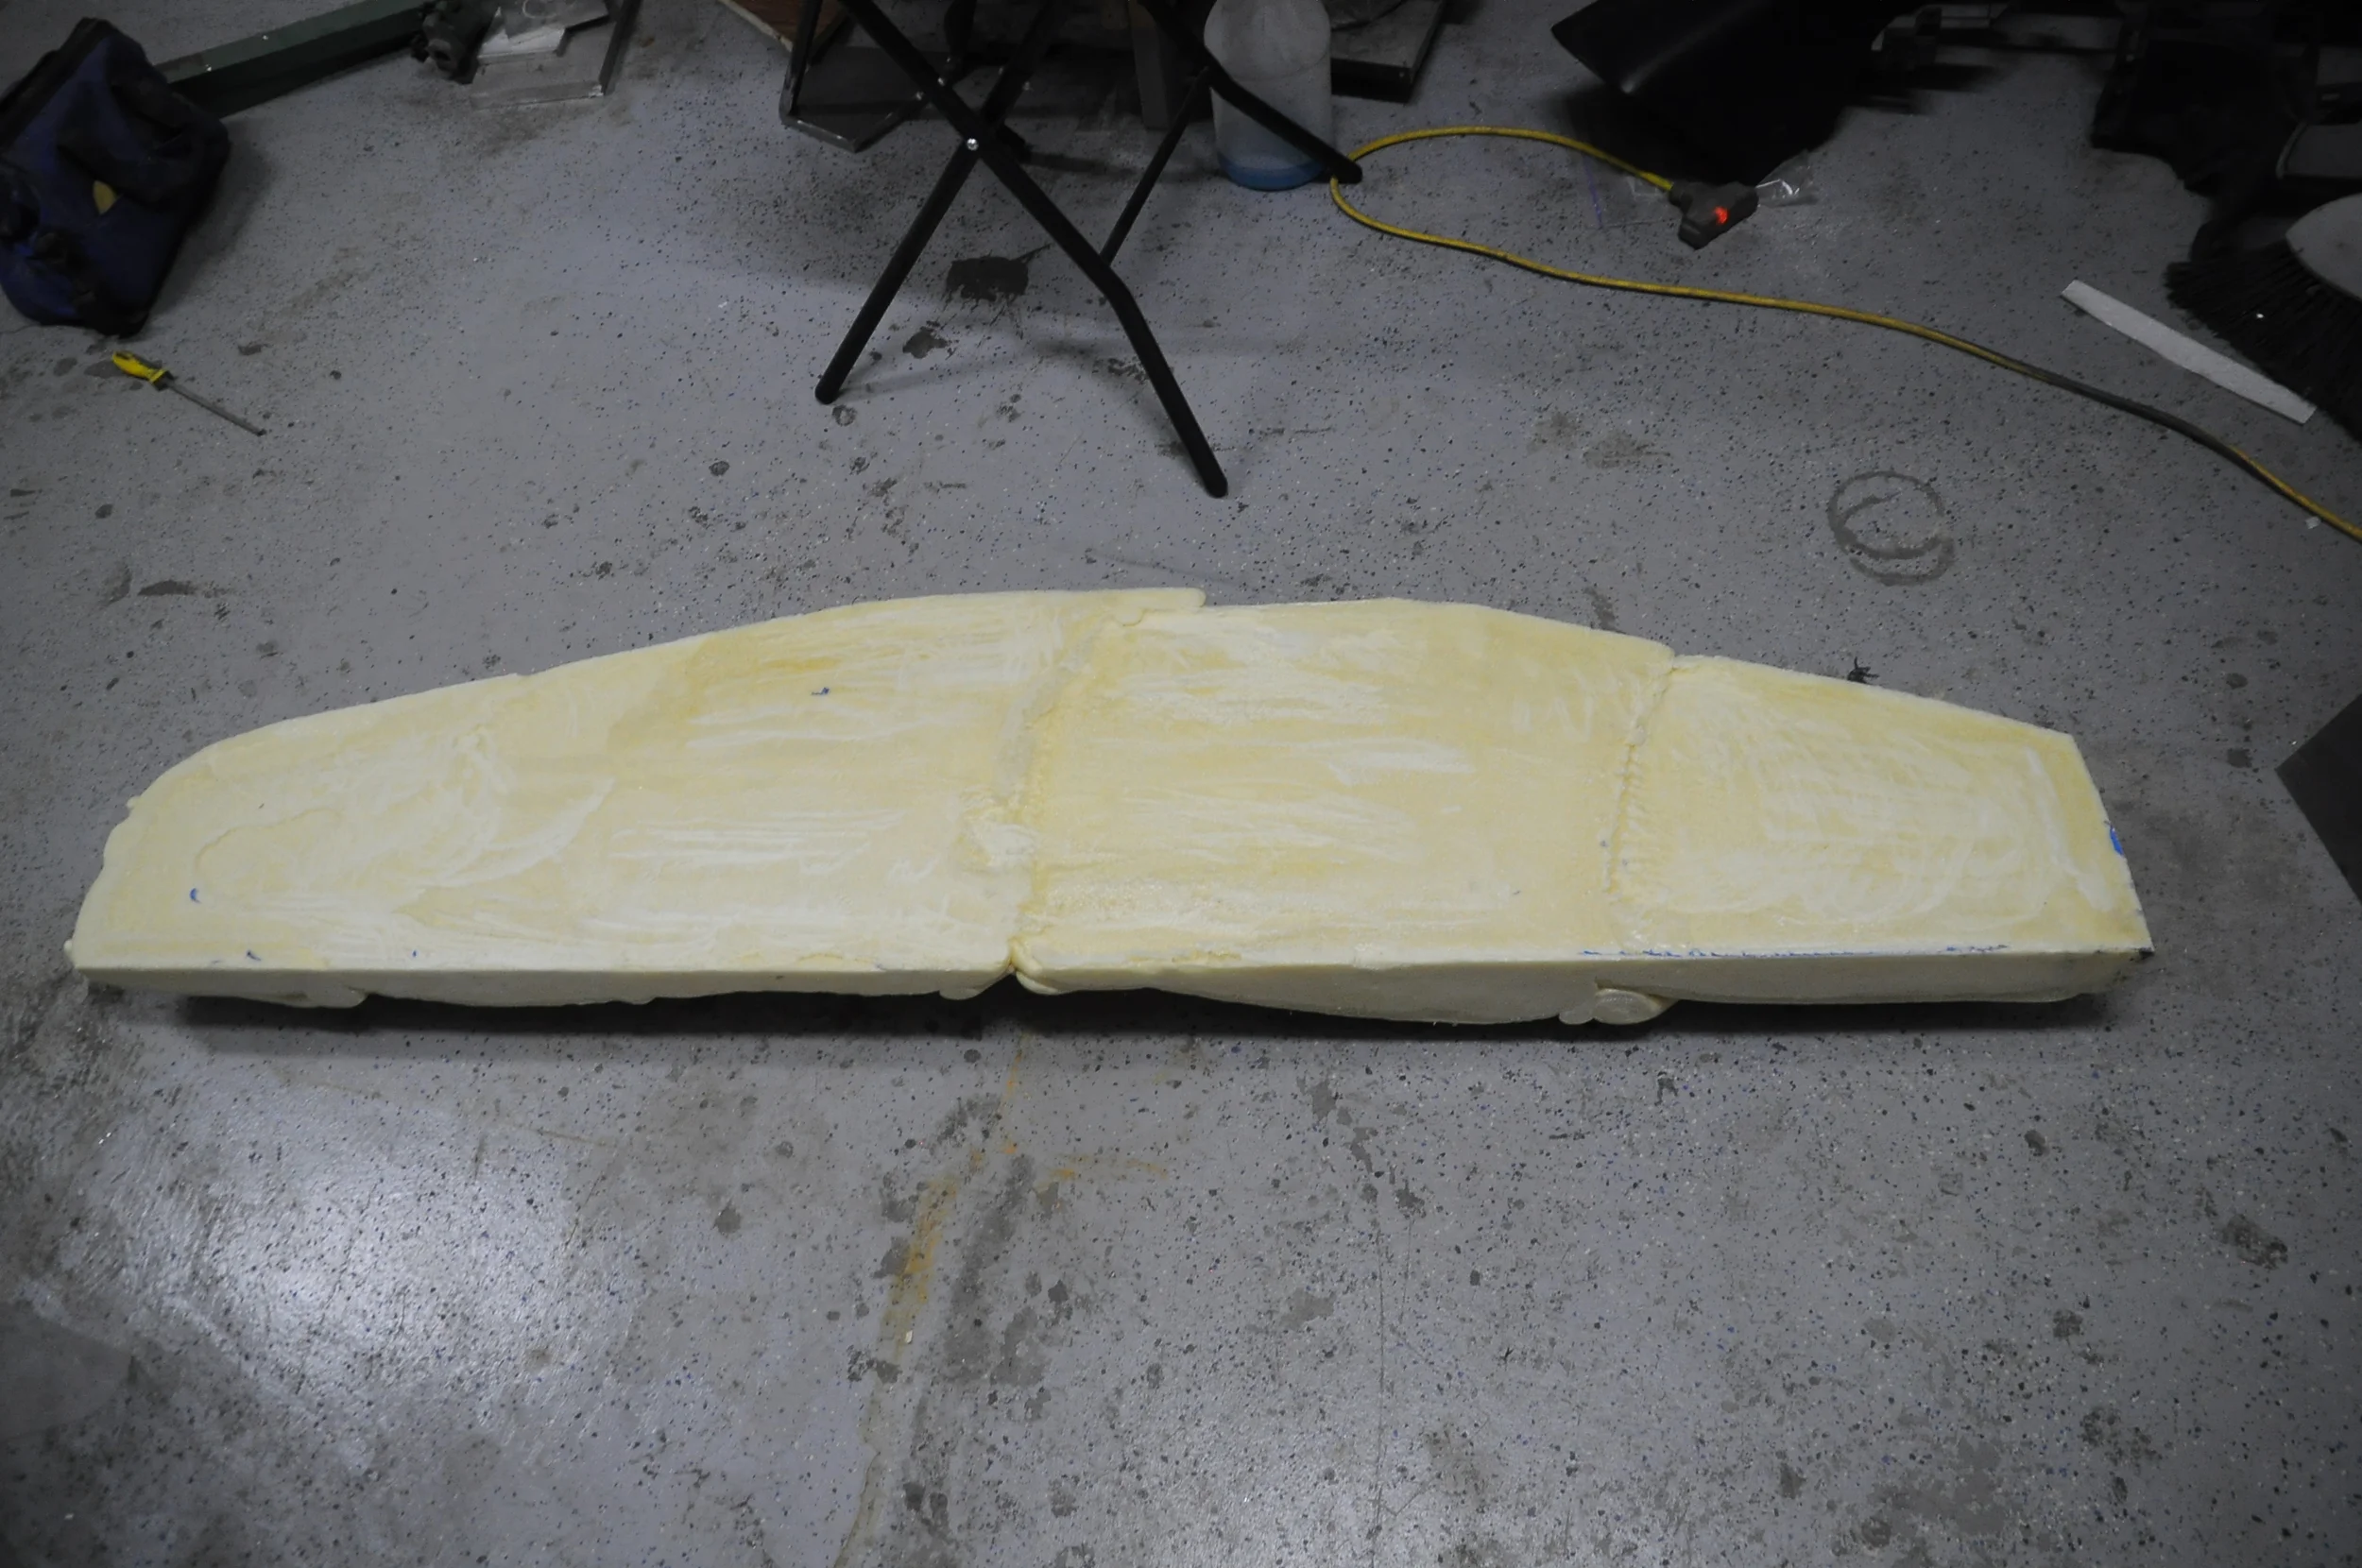
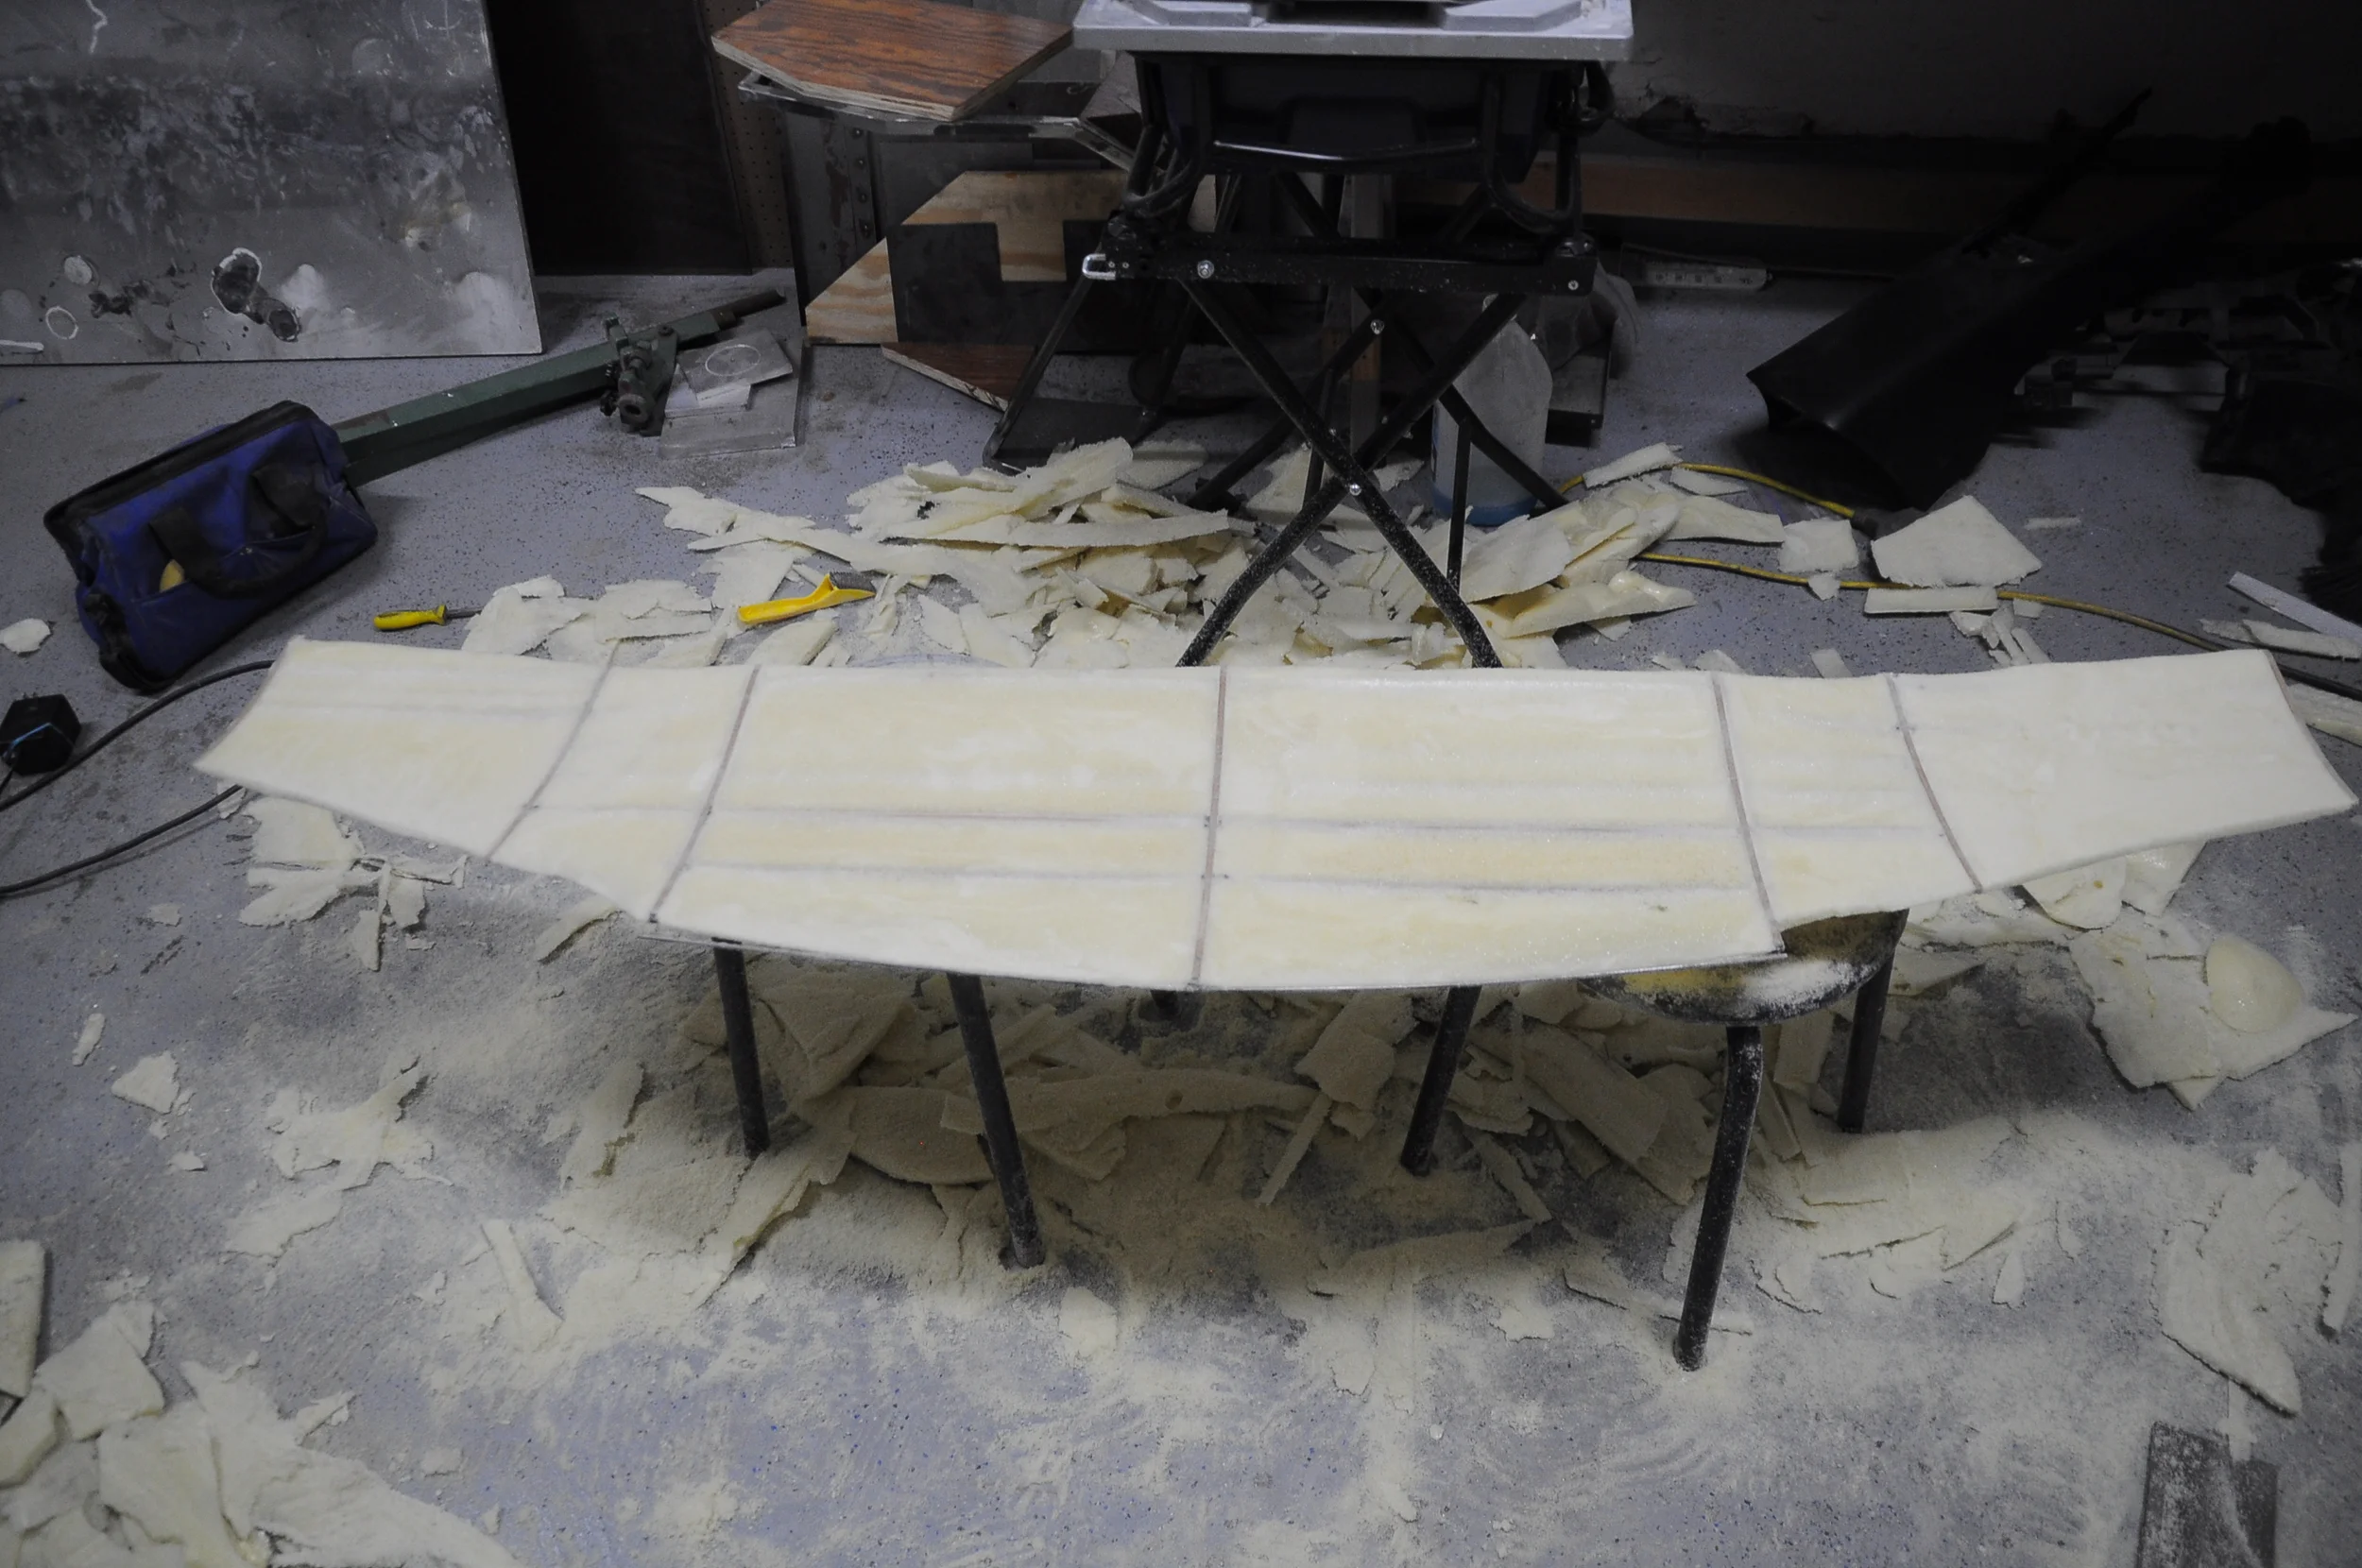
Next I began to rough out the shape with a saw and foam shaver. Typically a hot wire cutter would be the best tool to use at this point but the one I made was not working very efficiently (I think I need to replace the wire) and I don't think this foam cuts as easily as the insulation foam I used on the first prototype.
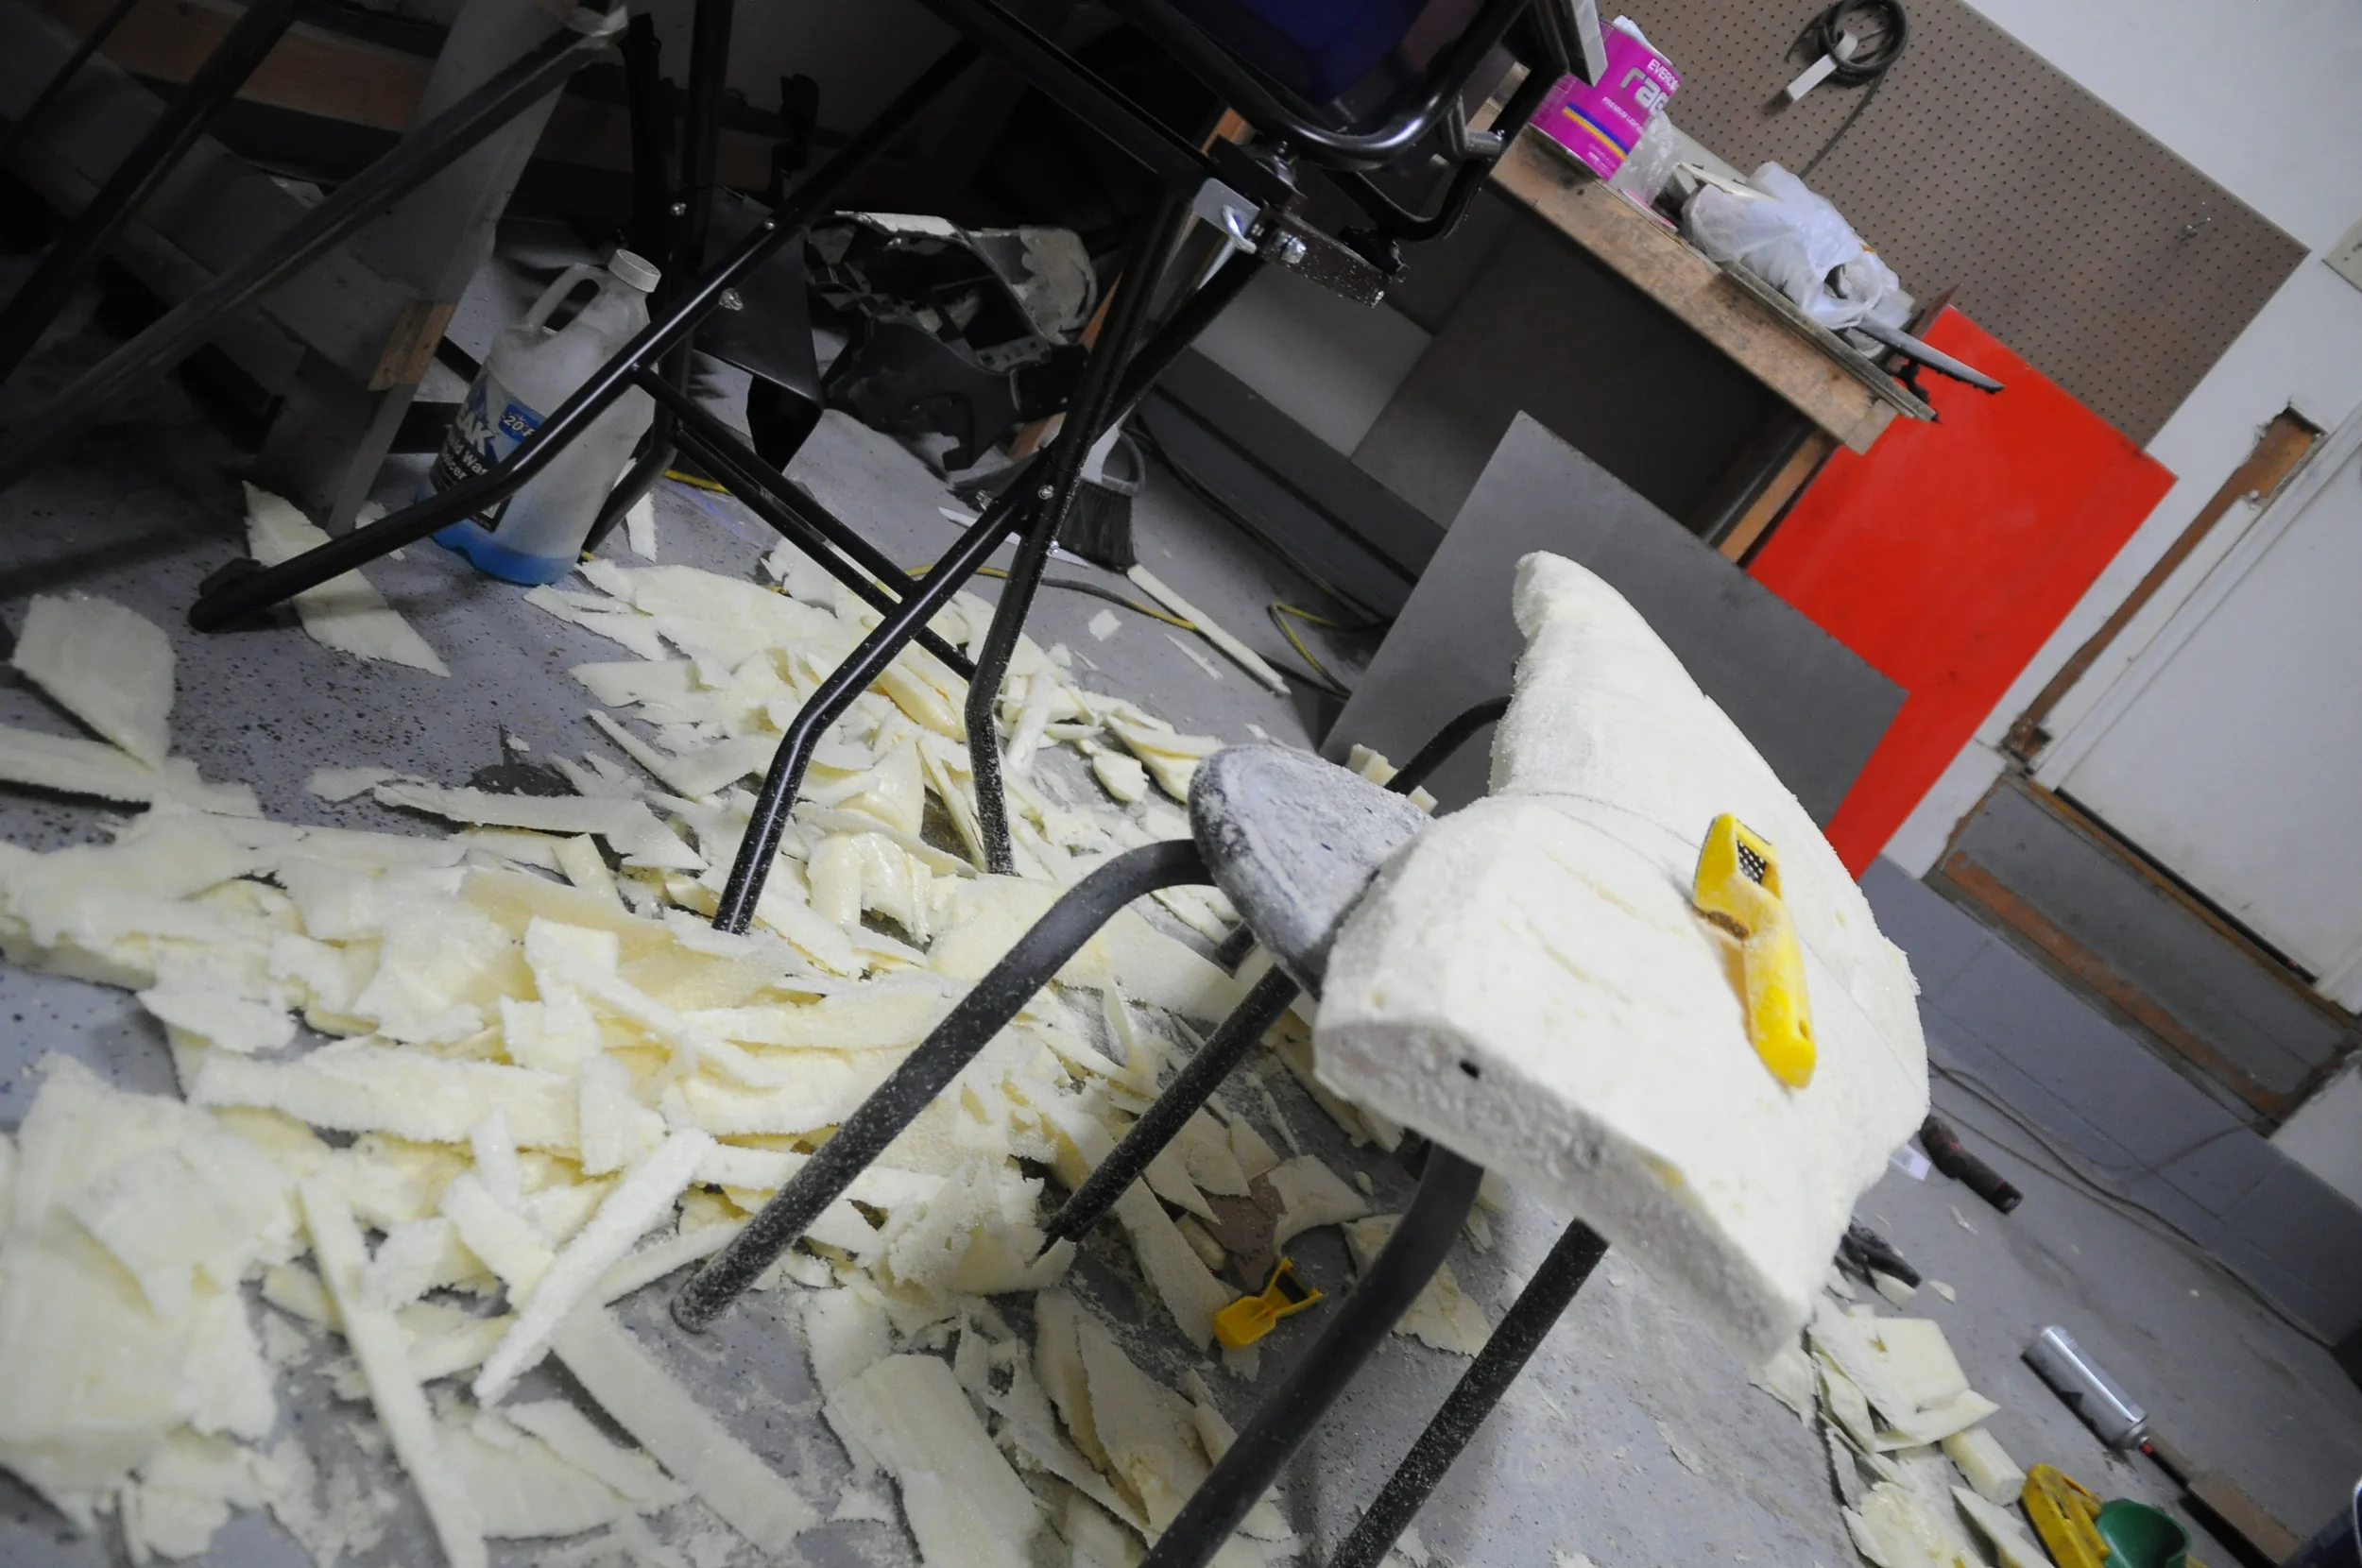
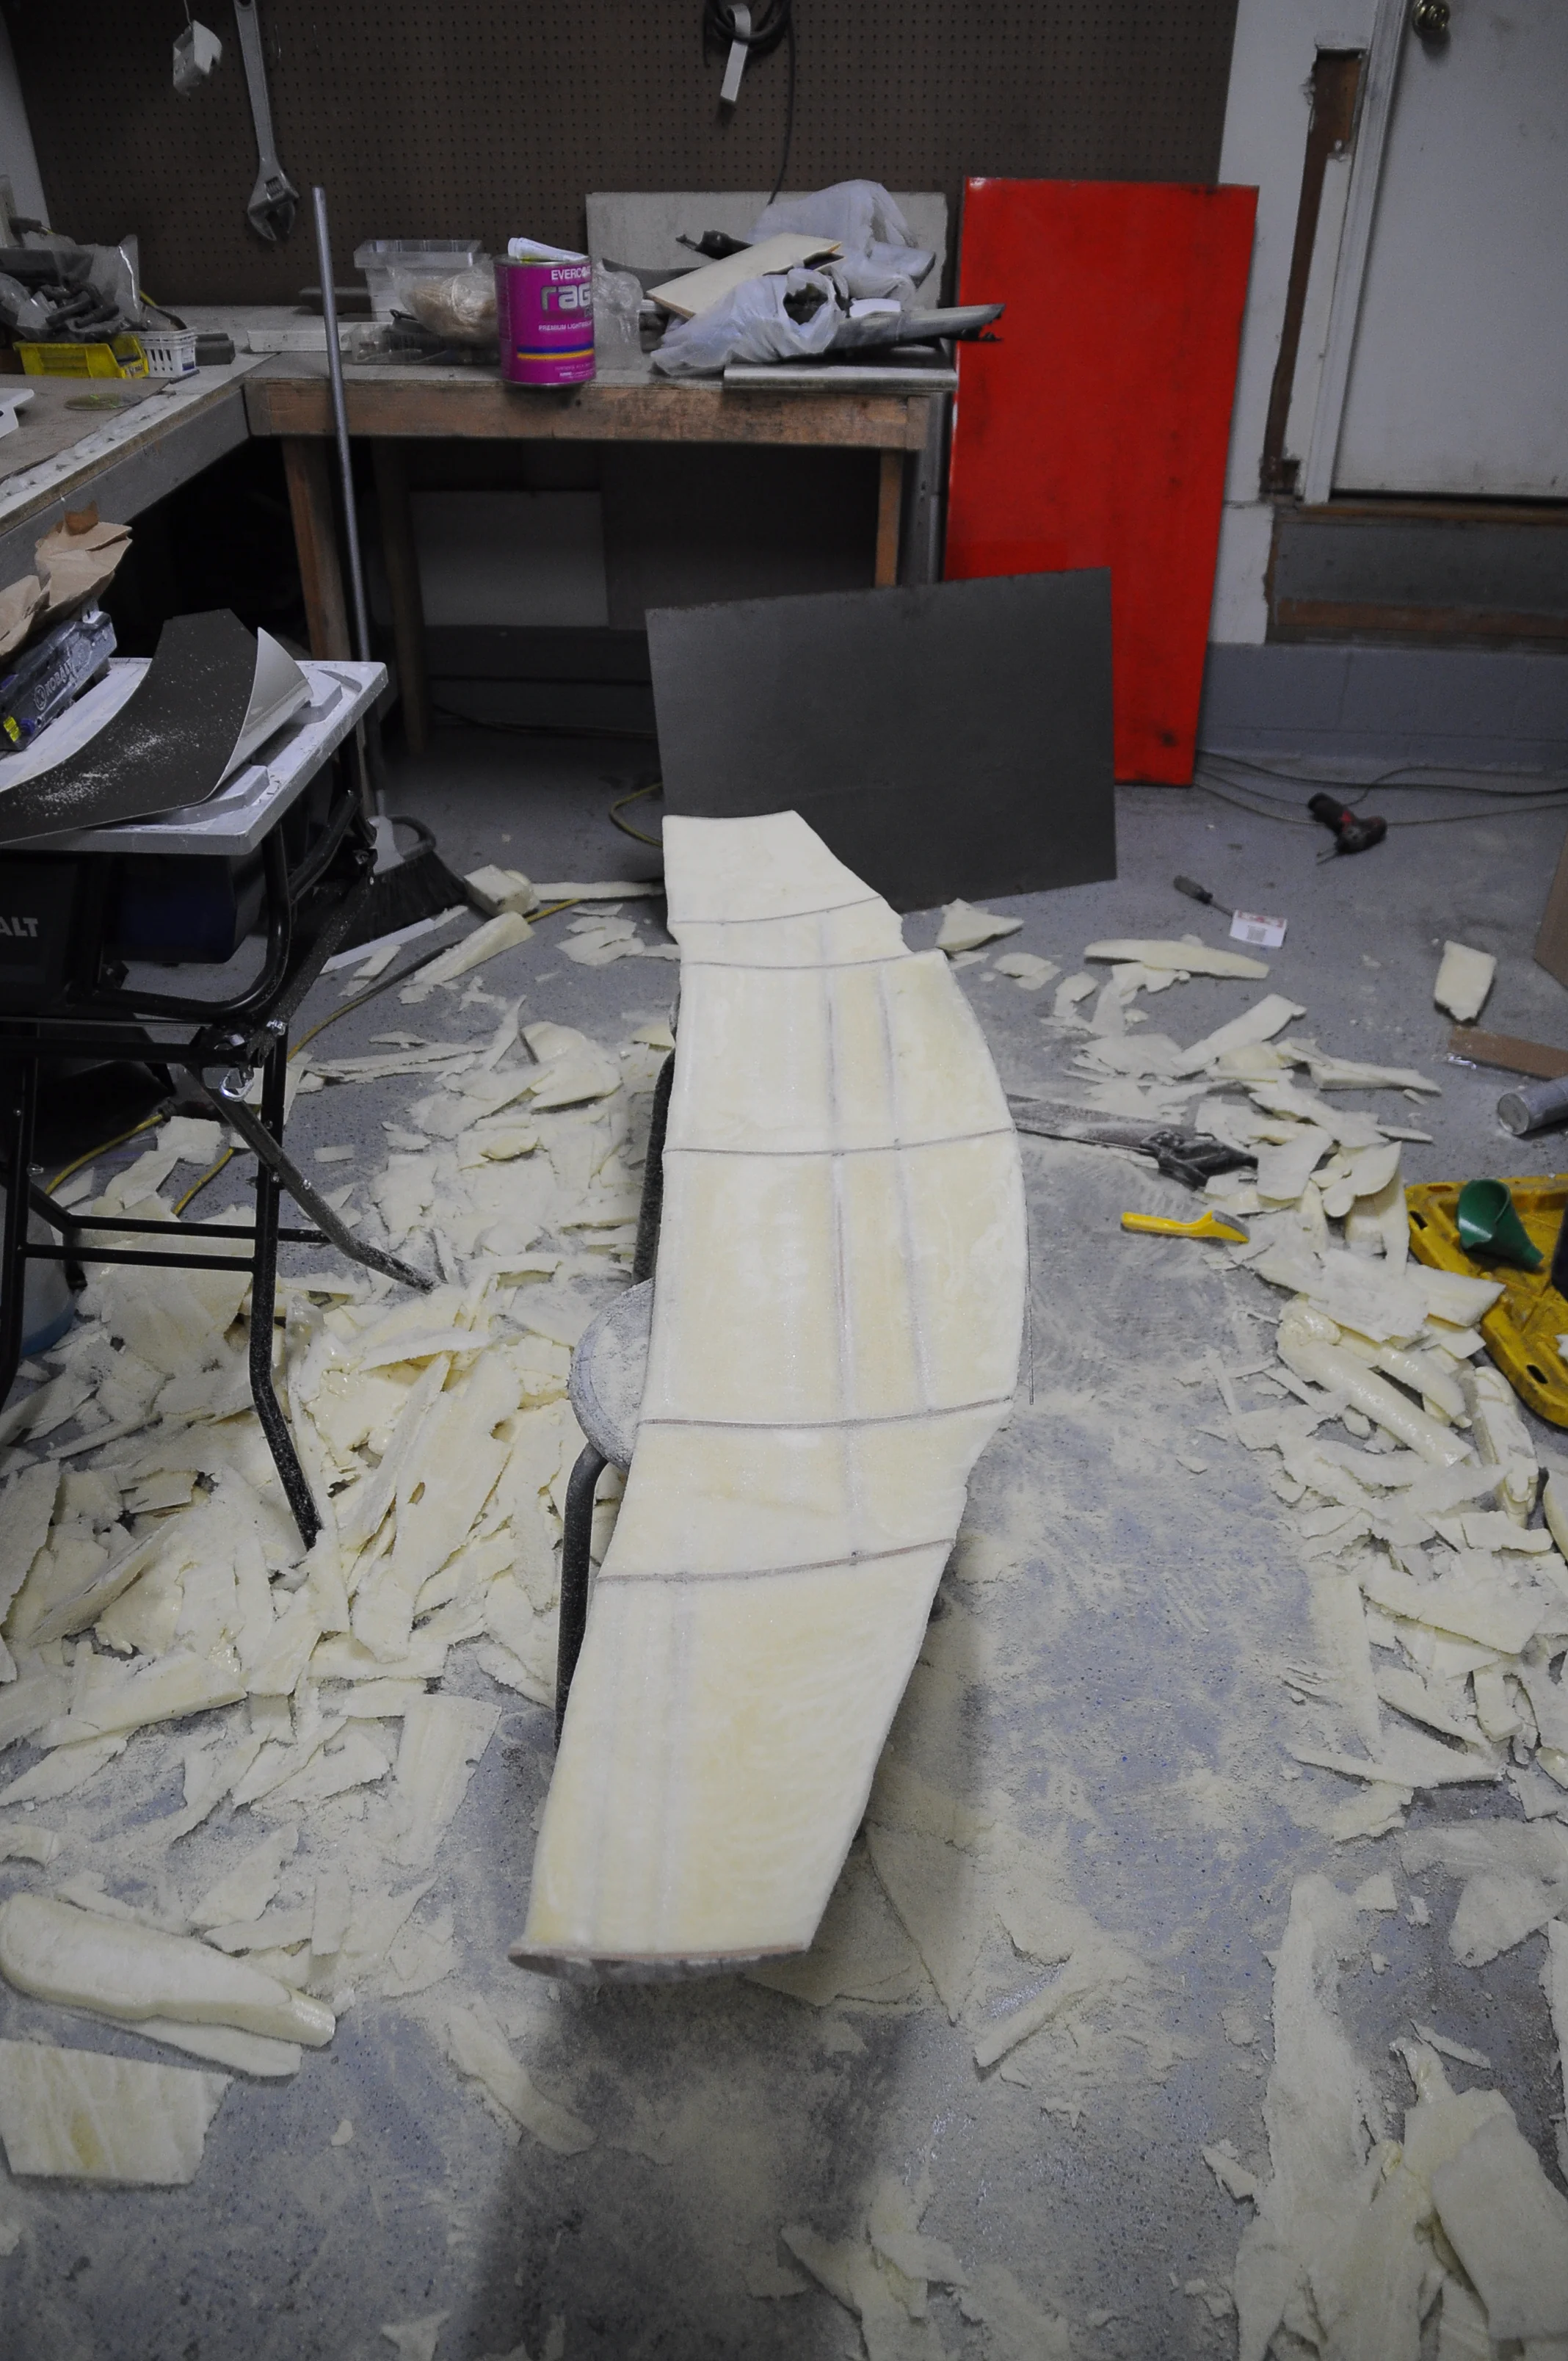
This is pretty tedious work, however it began to take shape!
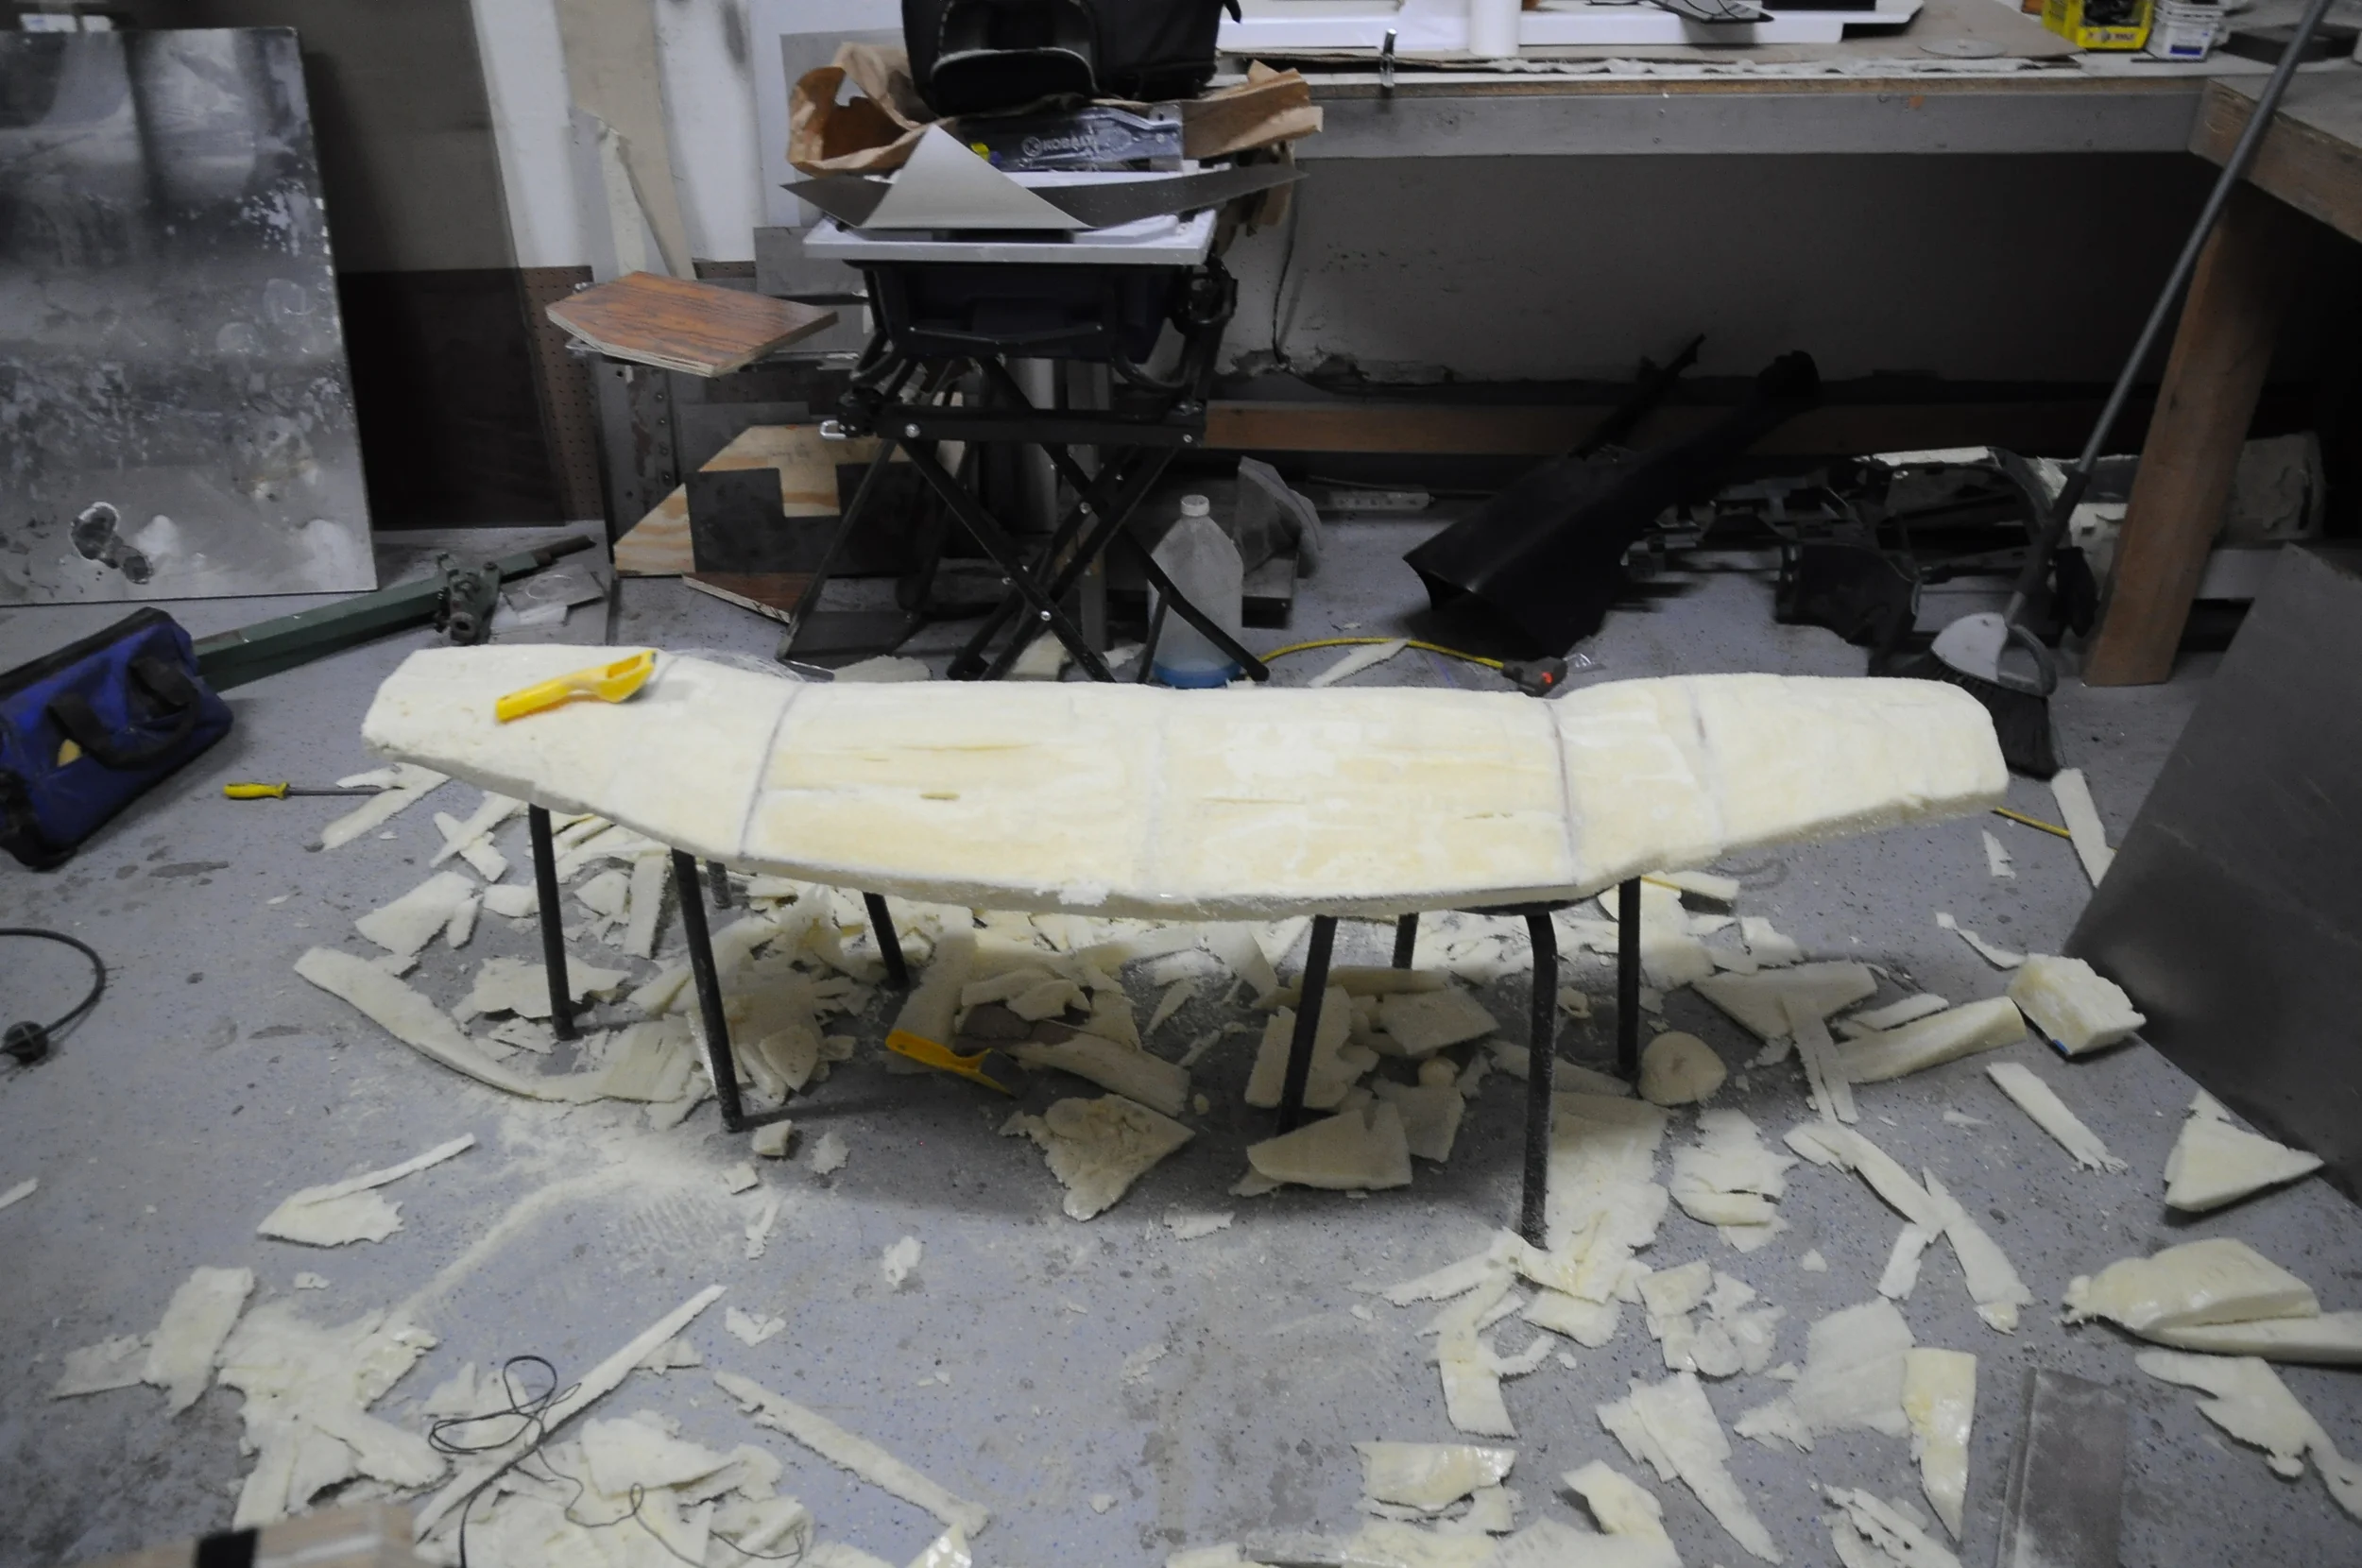
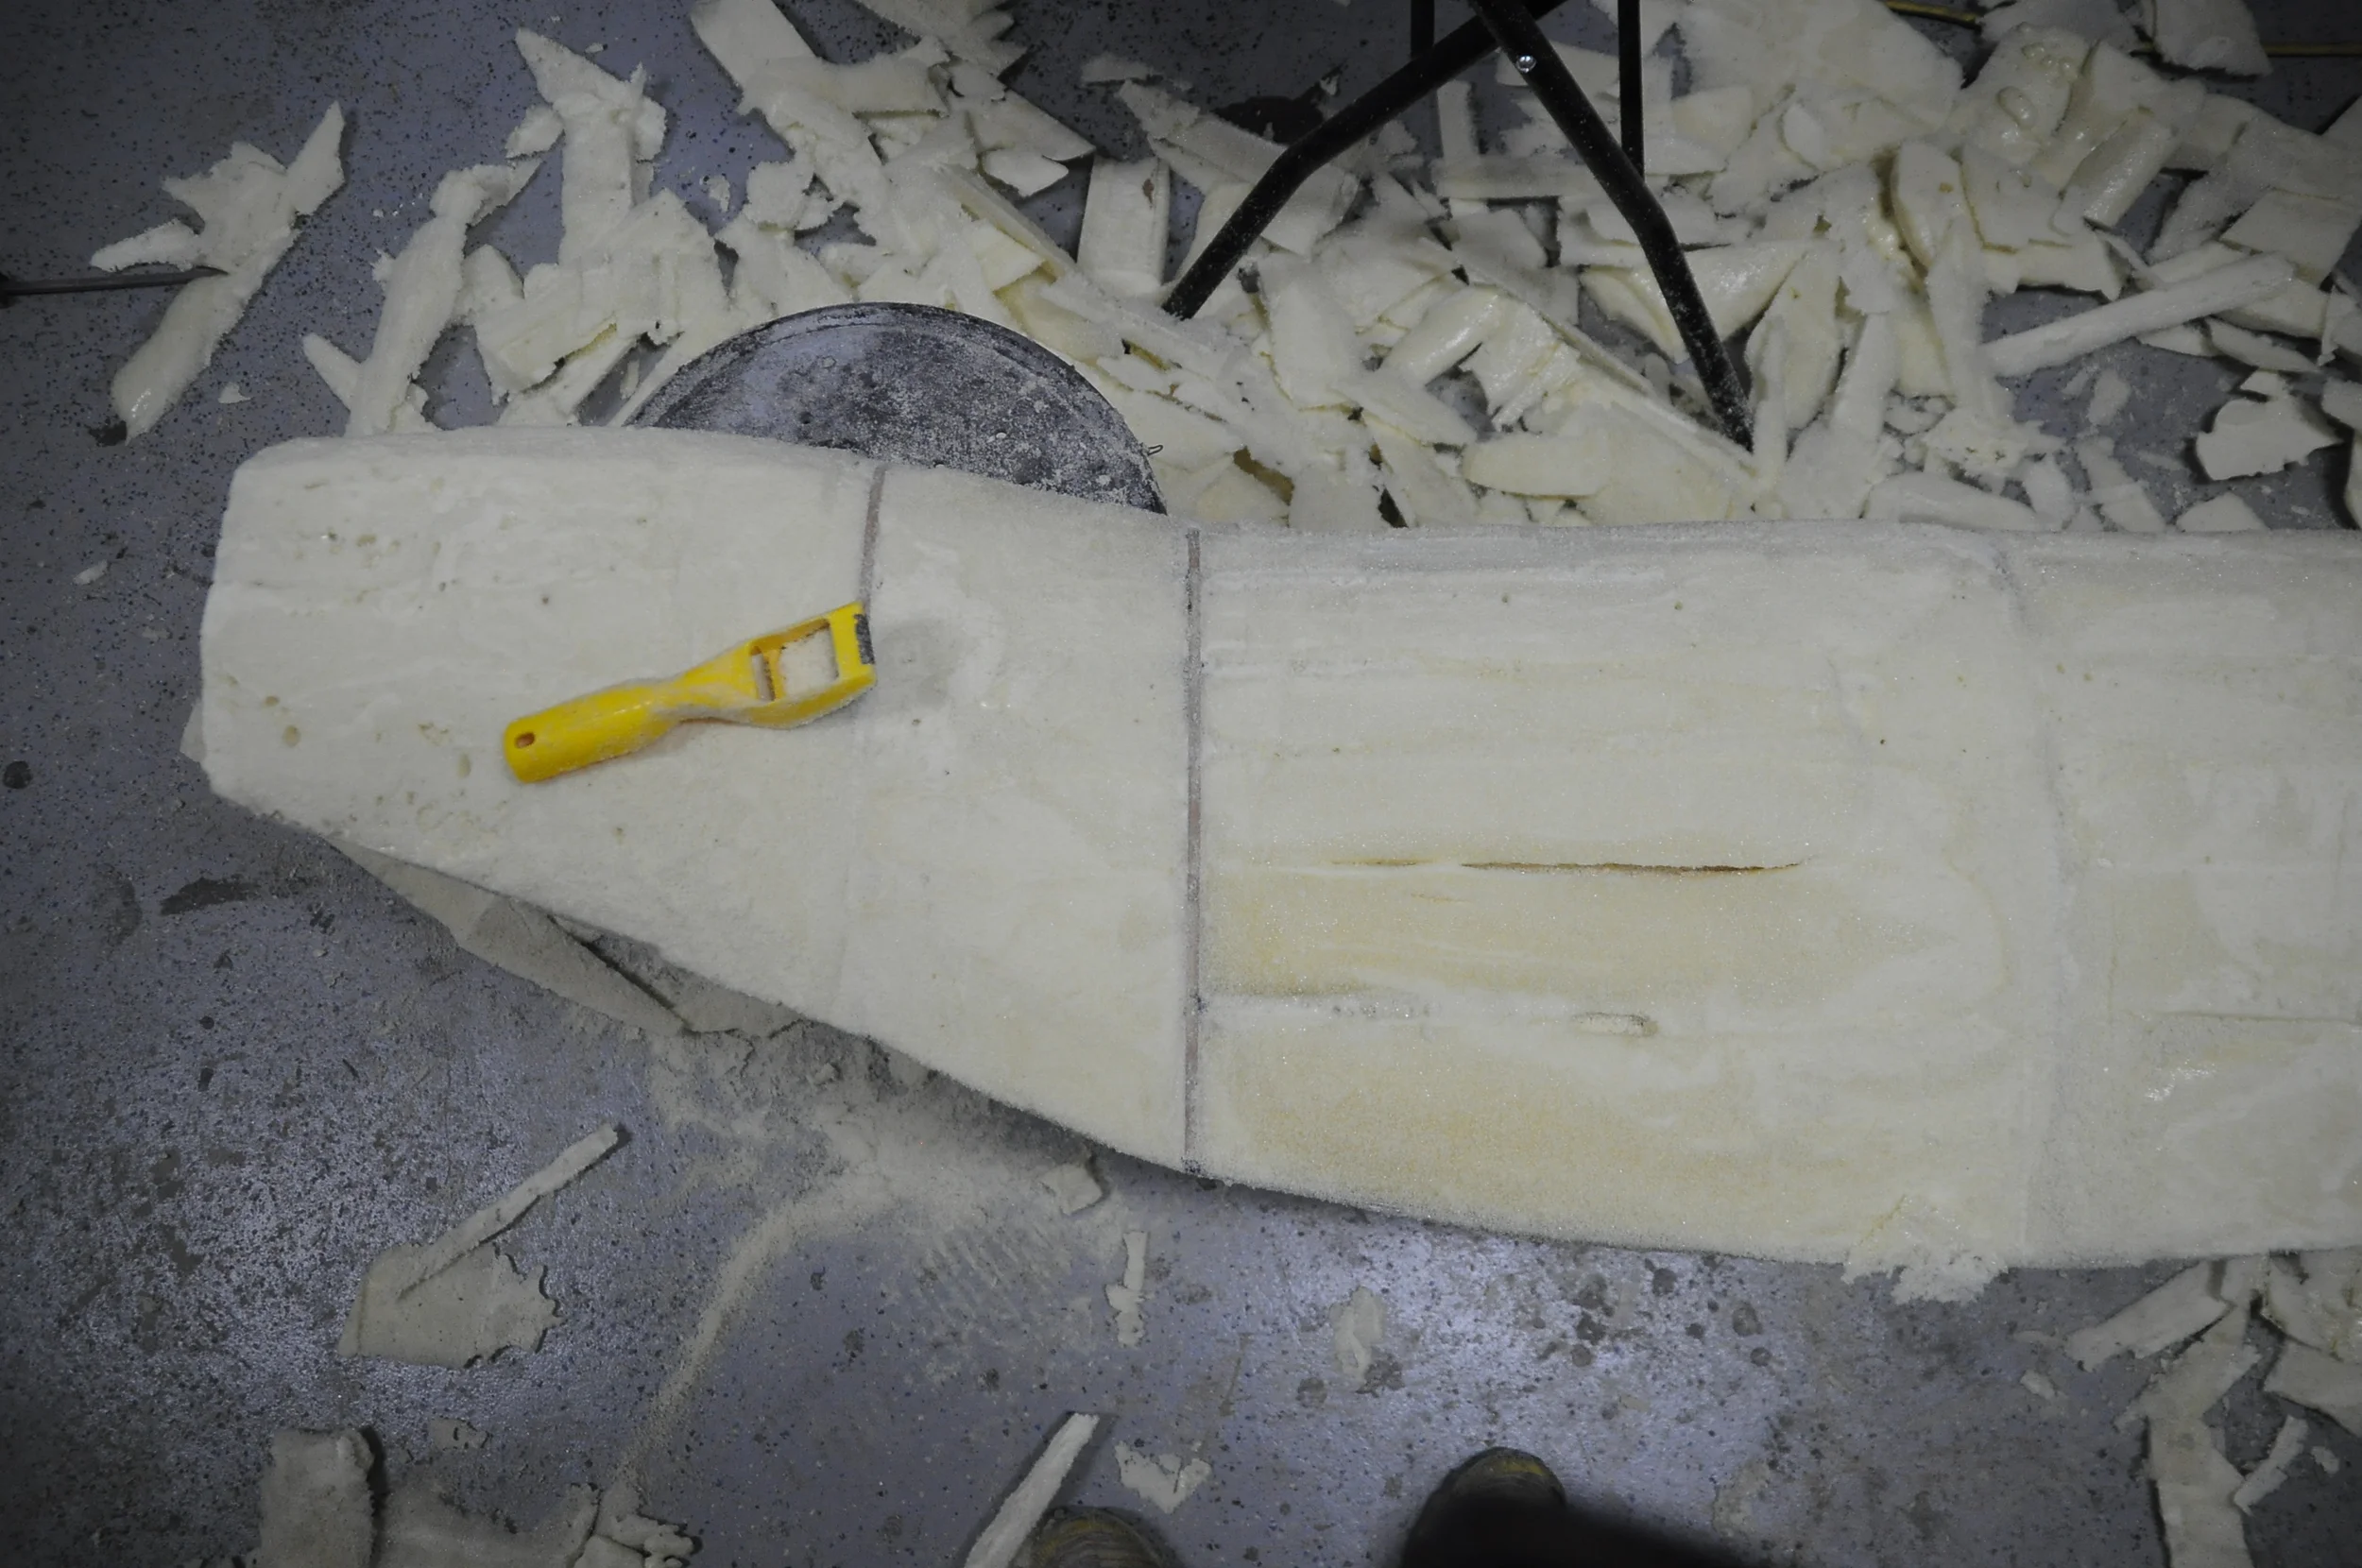
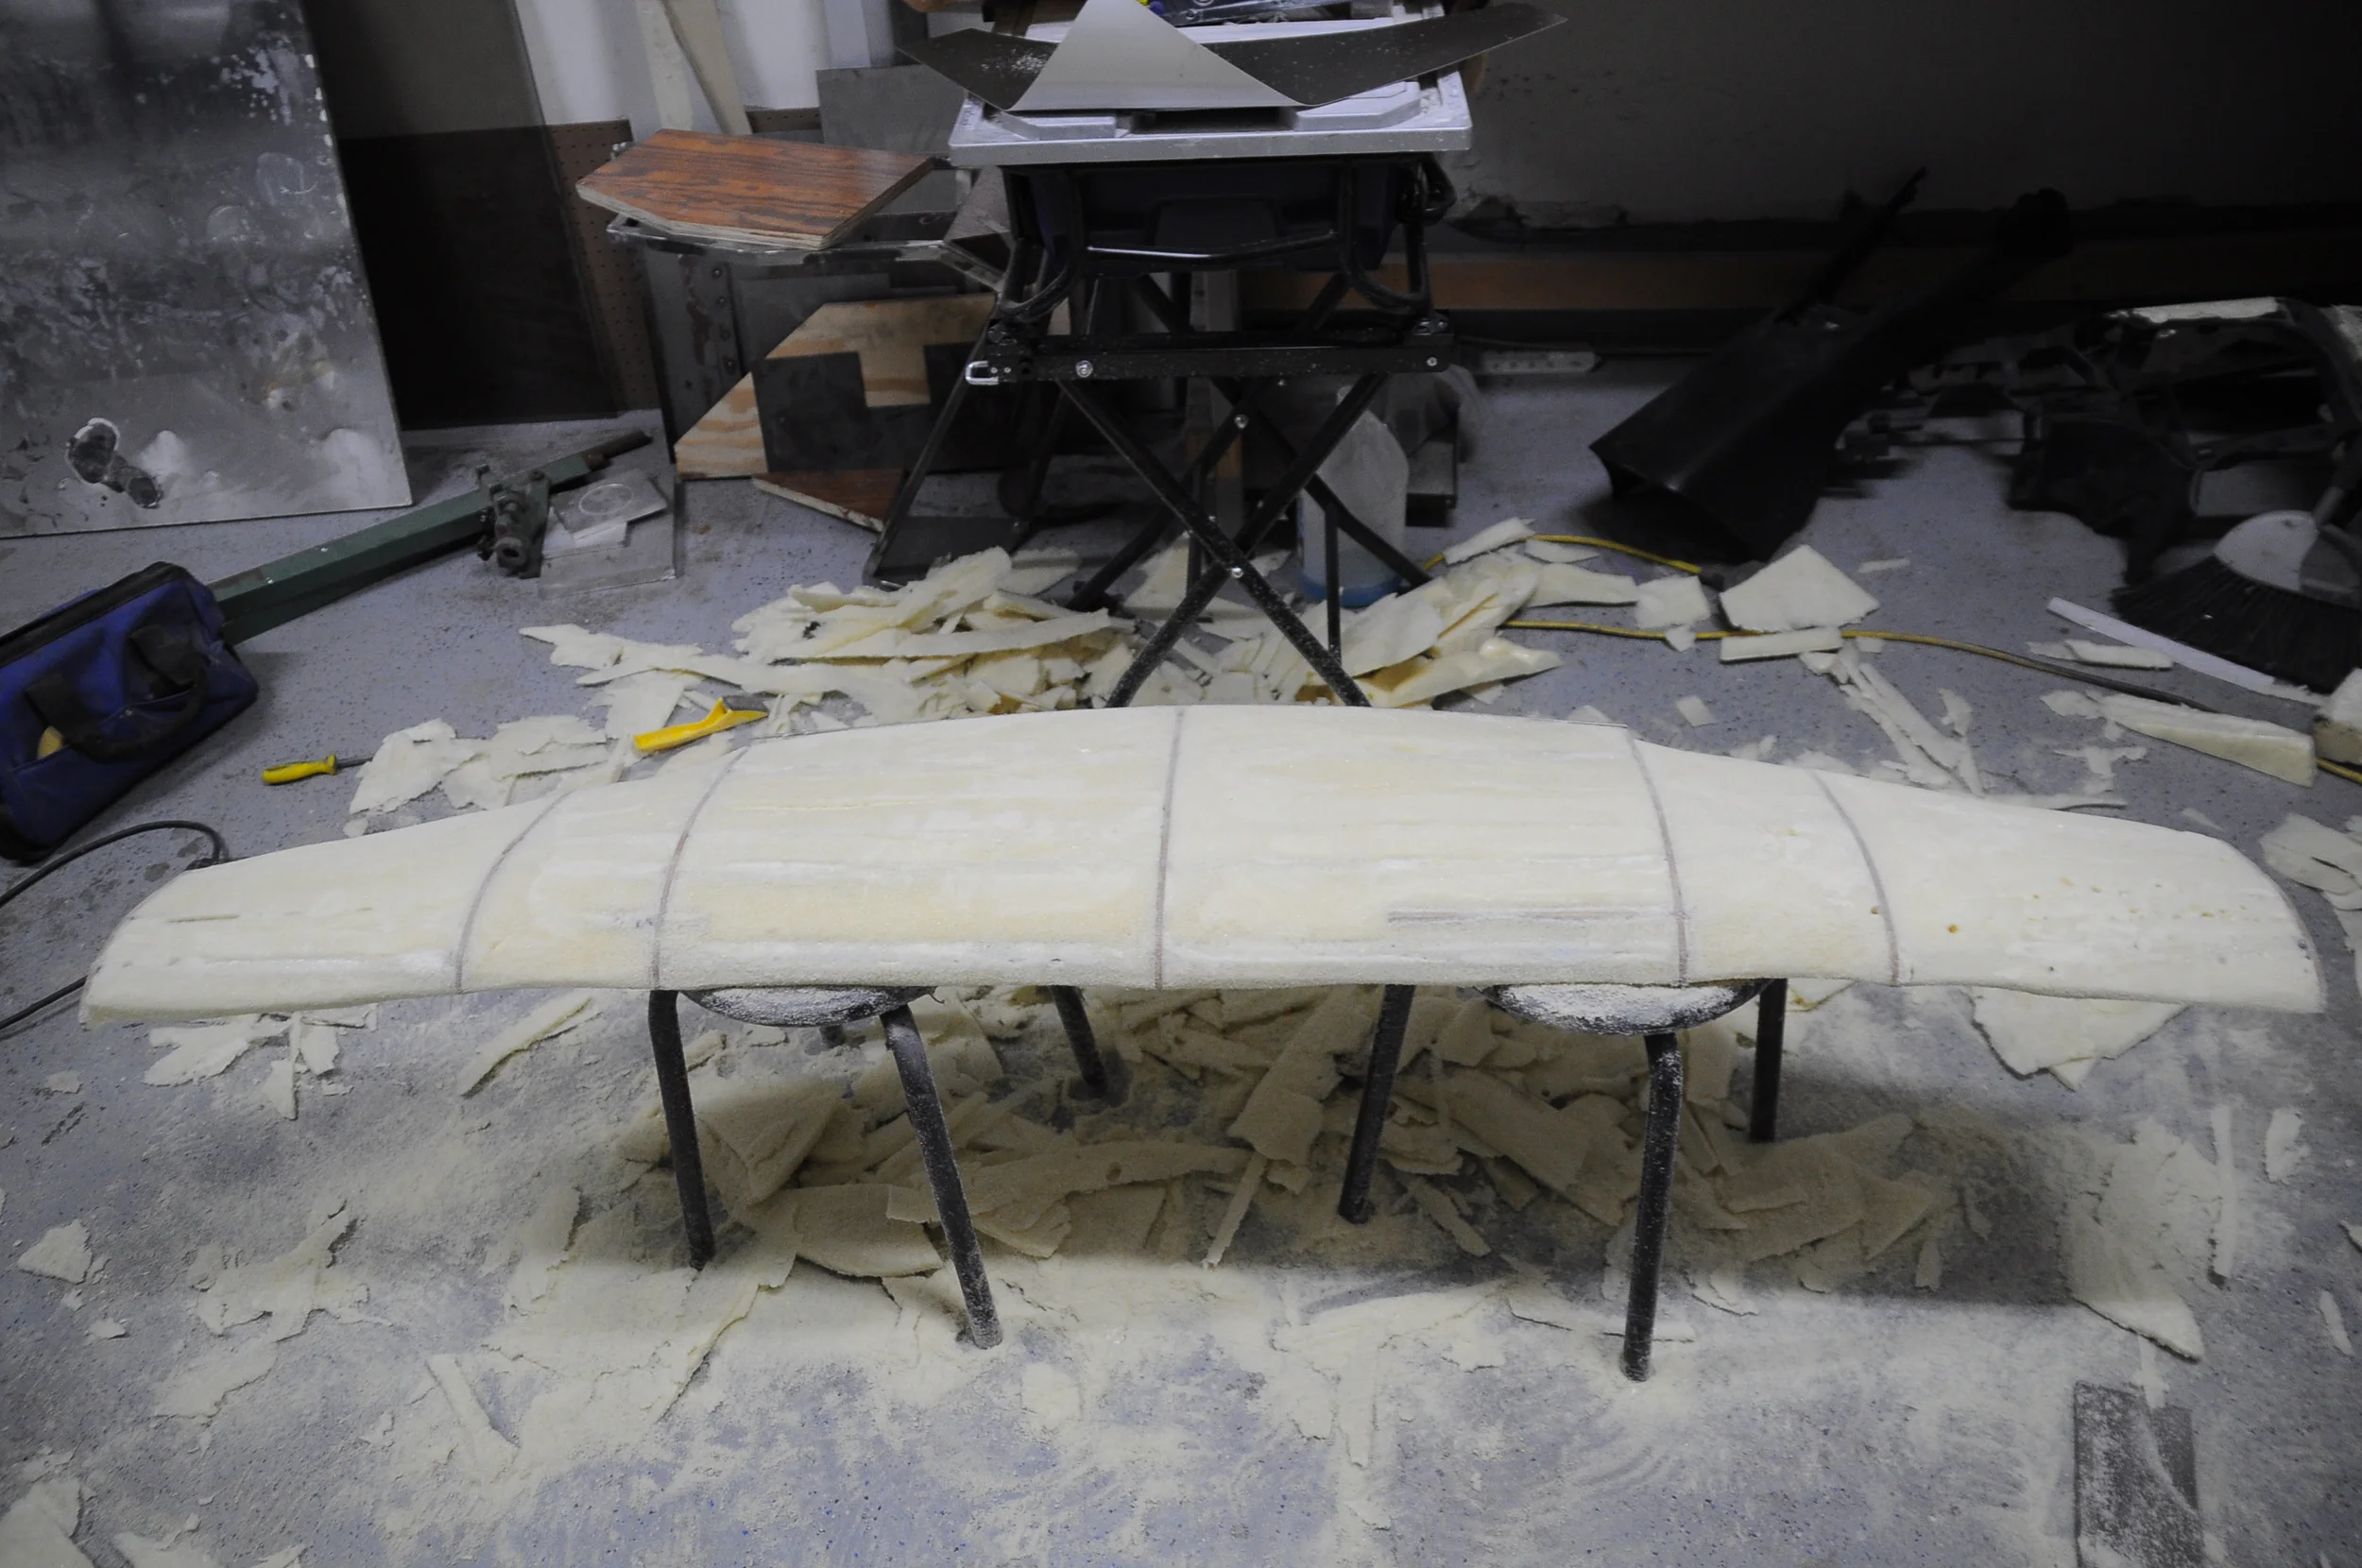
As I kept shaving down the foam, I was searching for my wooden rib cage pieces. These pieces are important because this is where the wing changes planes and these are my guidelines. Also, now you can see where the metal rod in the back lip plays a huge role. Not only does it create an equal arc, but it gives me a guide edge to for off of. (IE running the foam shaver along the metal rim takes away excess foam but the metal rim prevents me from taking away too much material)

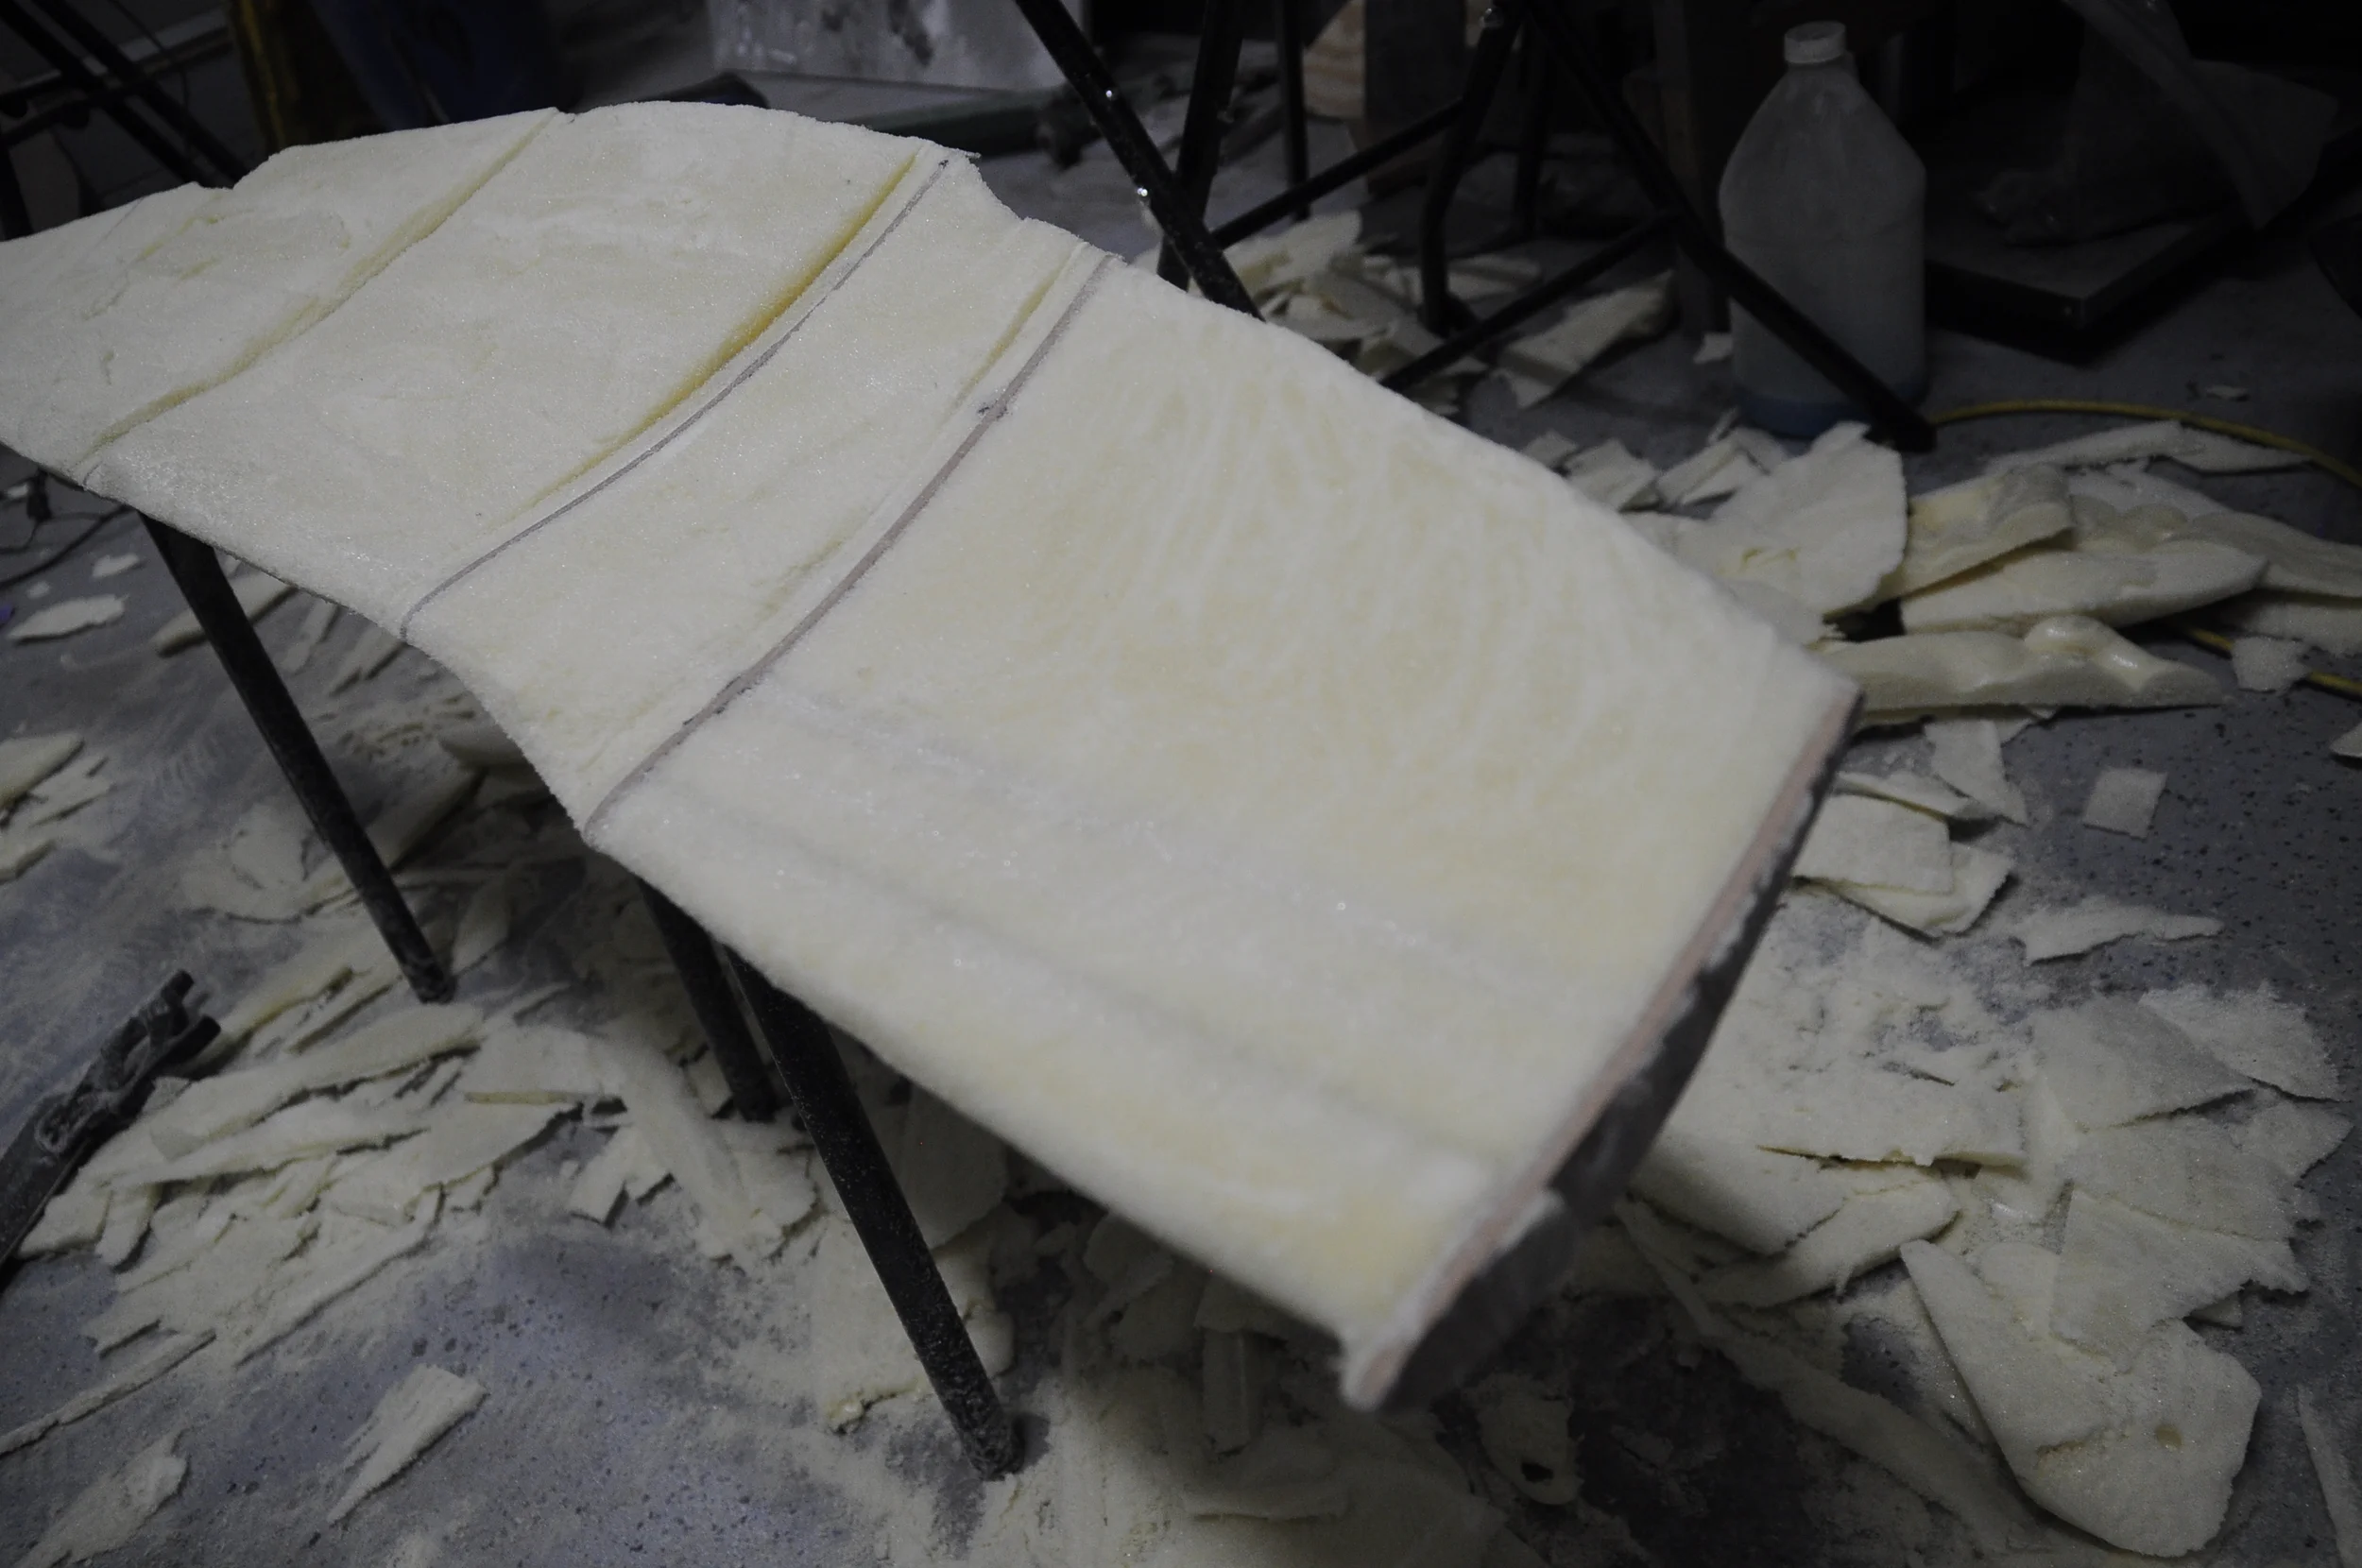
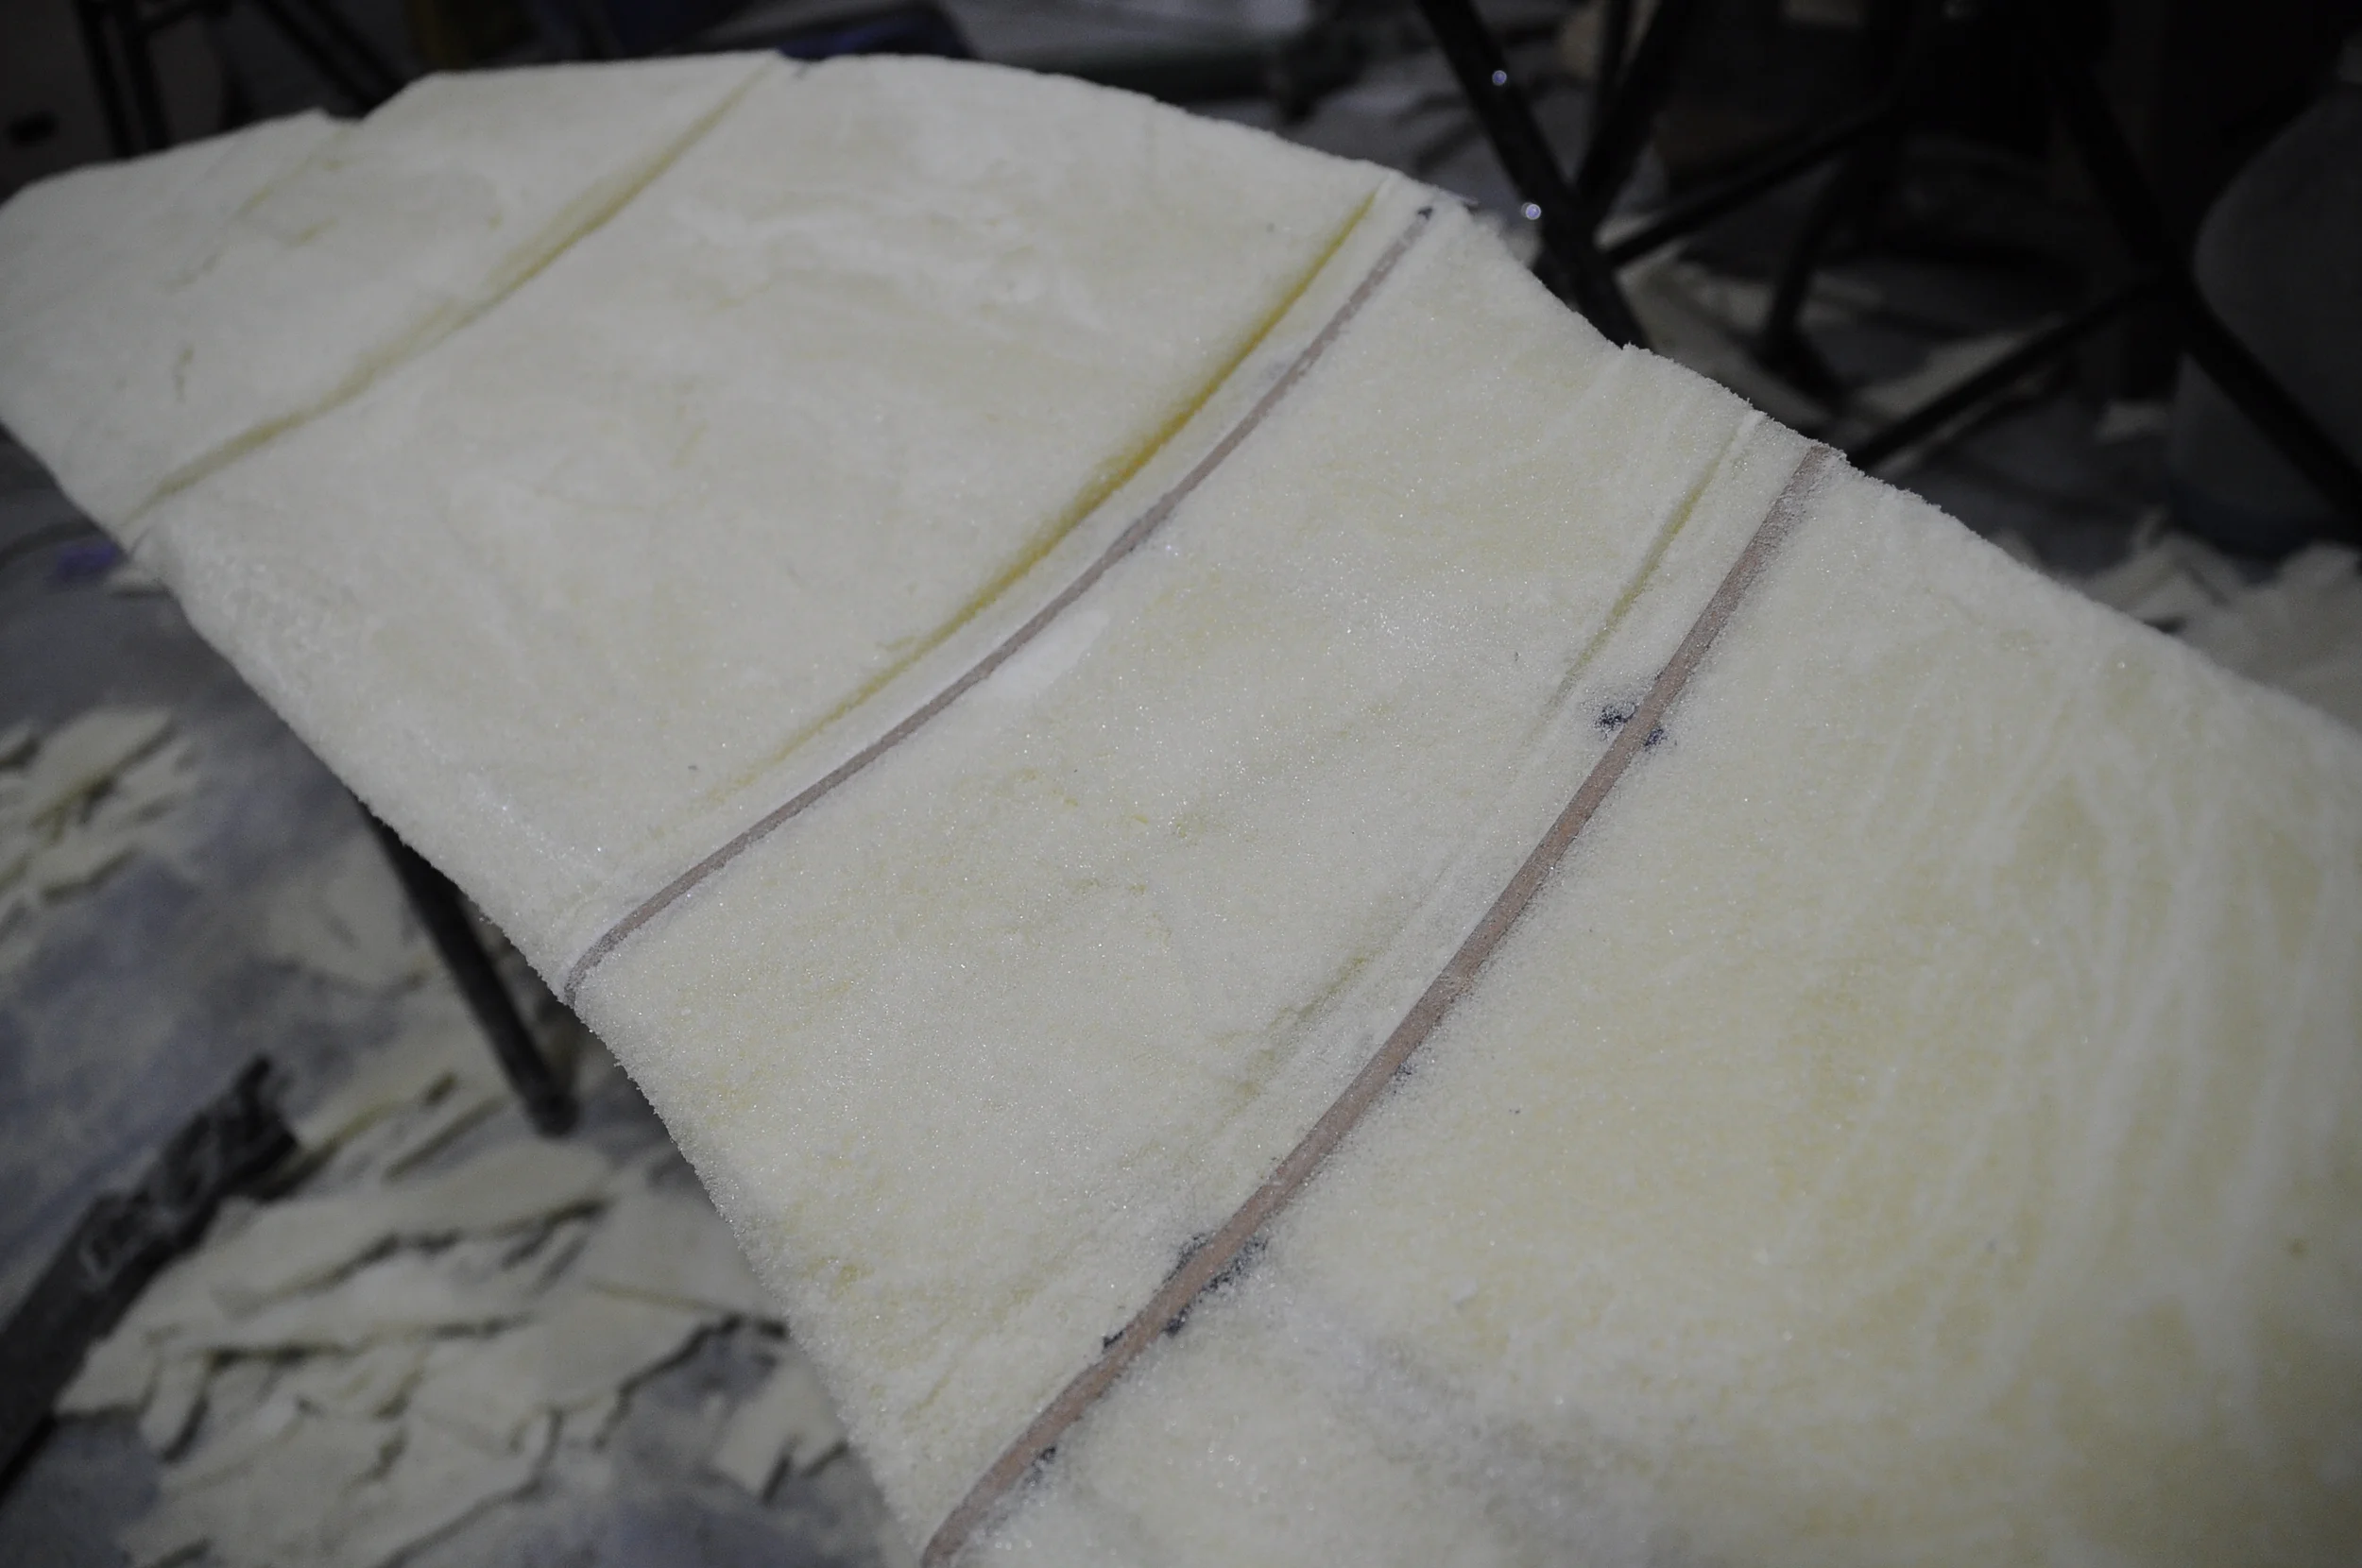
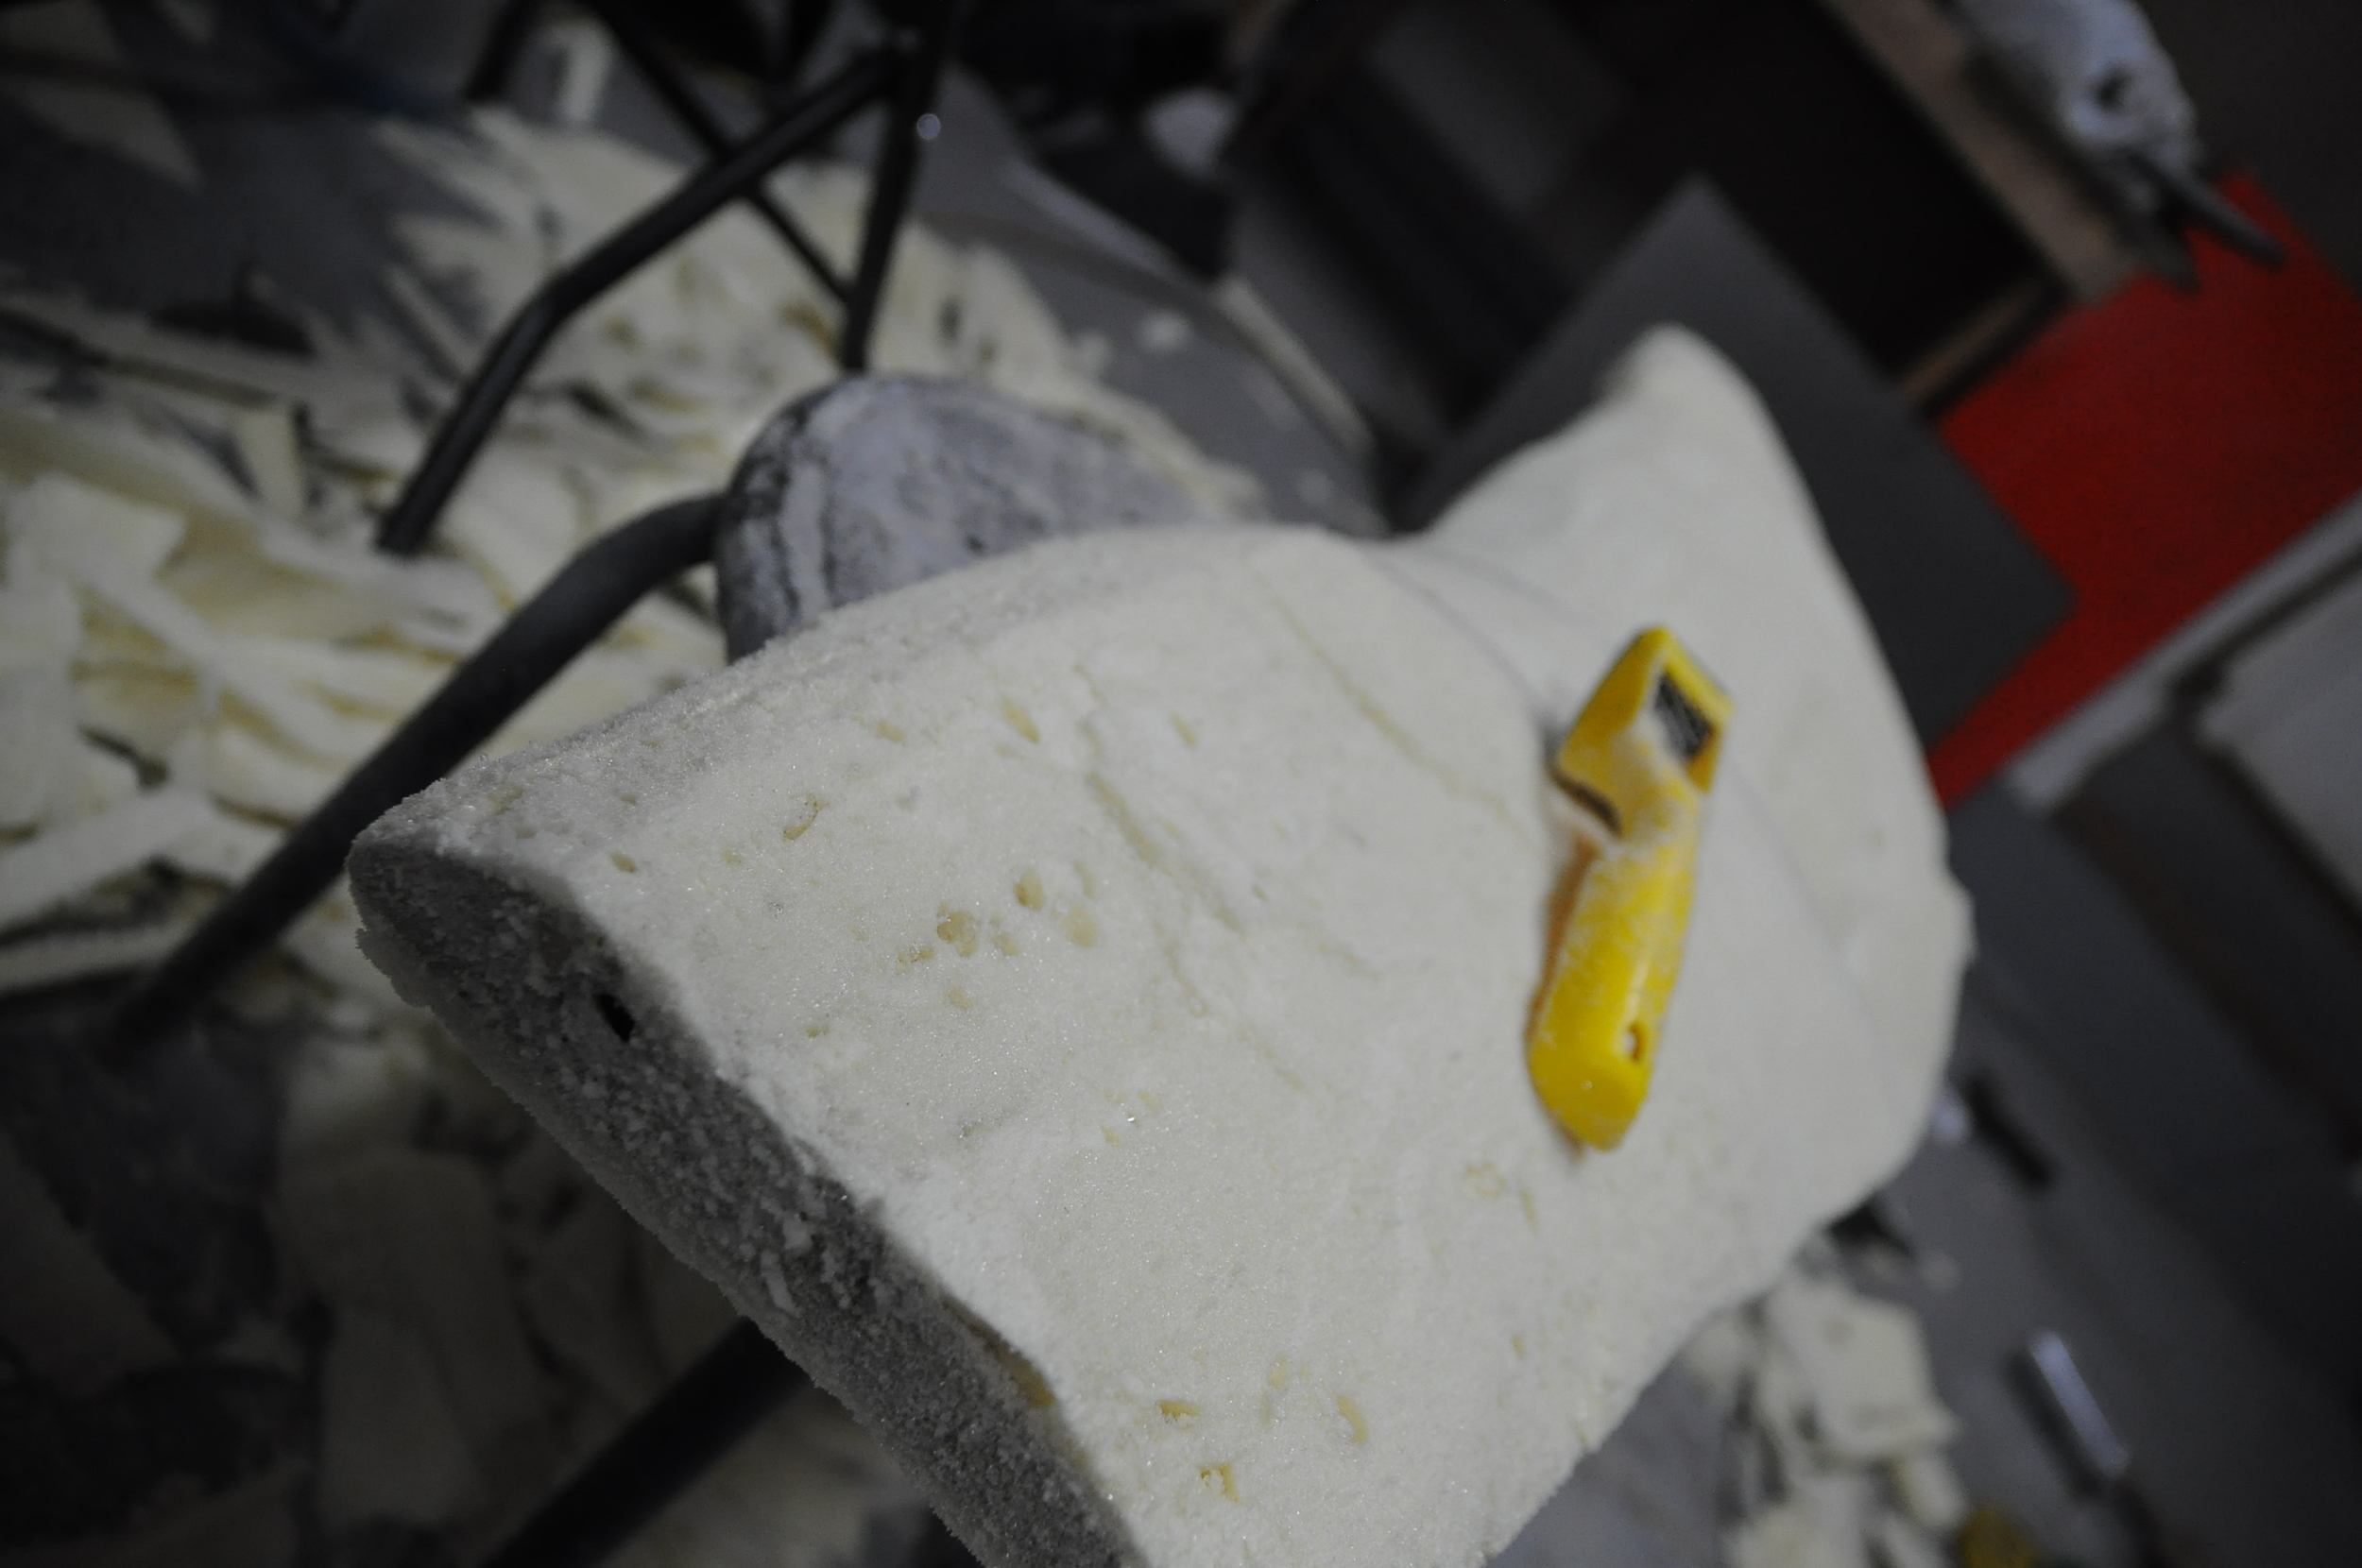
This is what the wing looked like after a more refined "roughing out." Since the wing does thin out towards the rear, the foam is a more fragile and I was a little overly aggressive and took out some extra chunks, it's not a huge deal as I can still fill them in later on, however I did add more work for myself. Be patient and work carefully! Especially on fragile plugs!
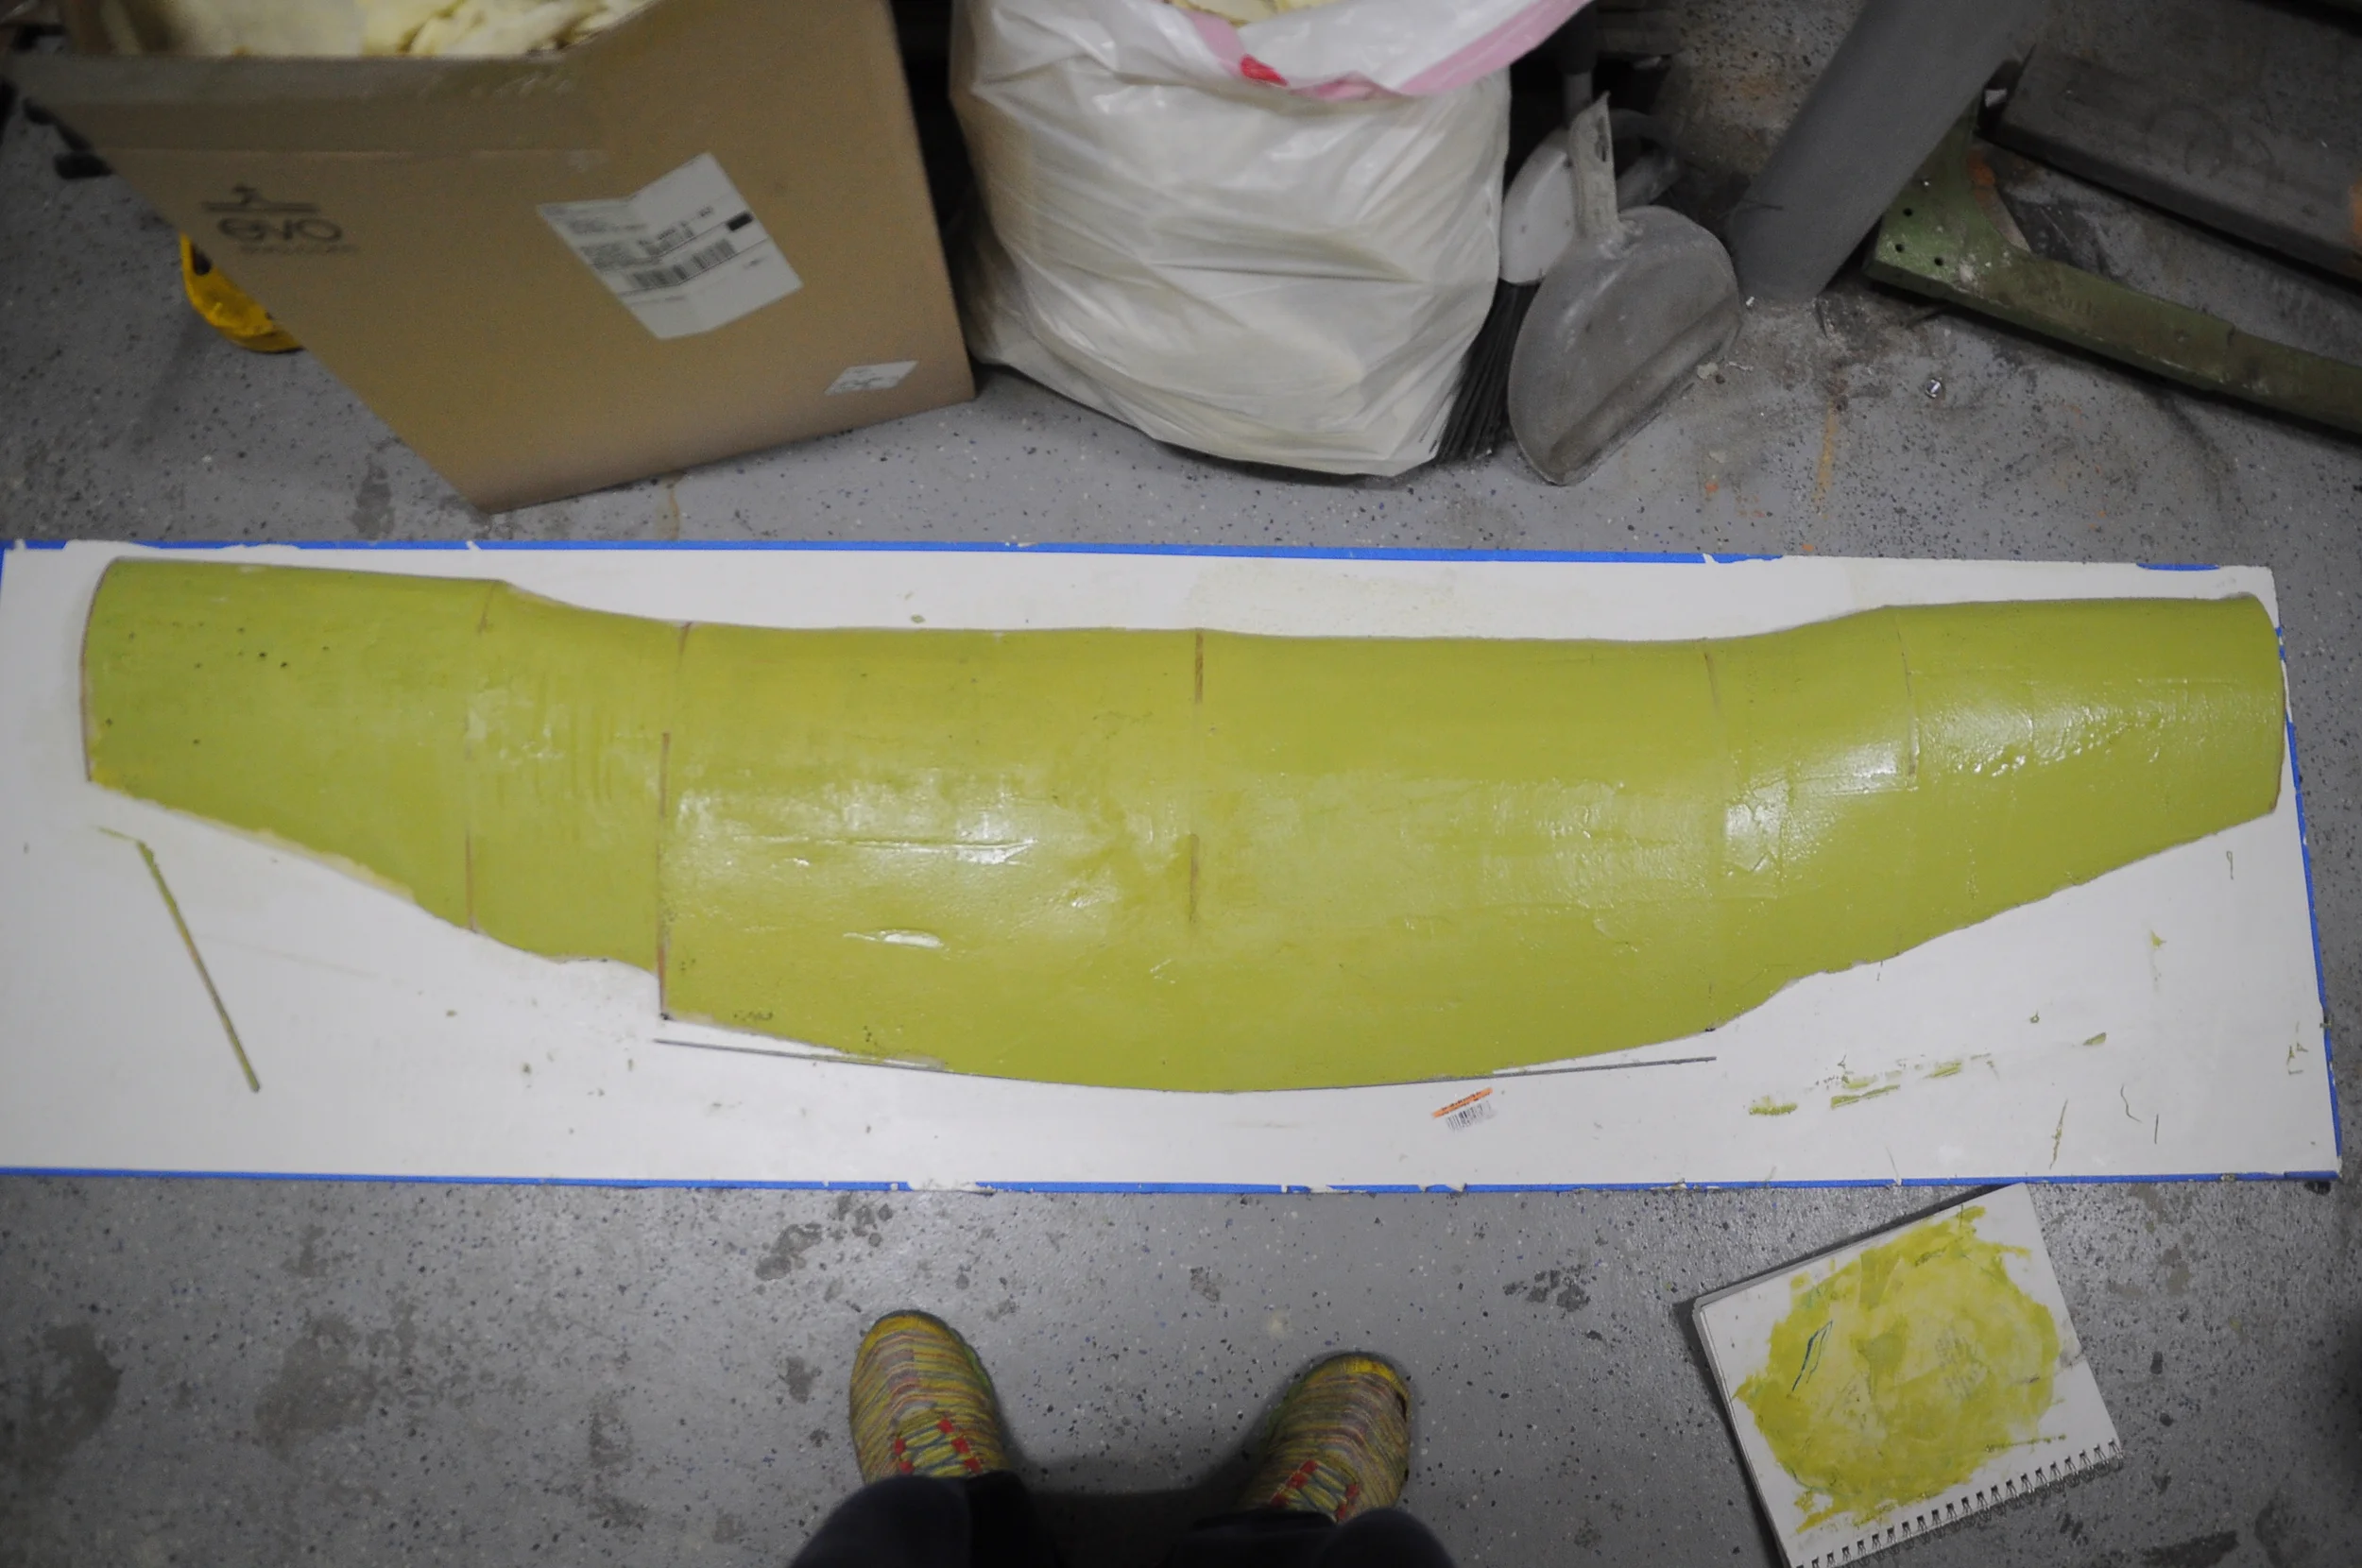
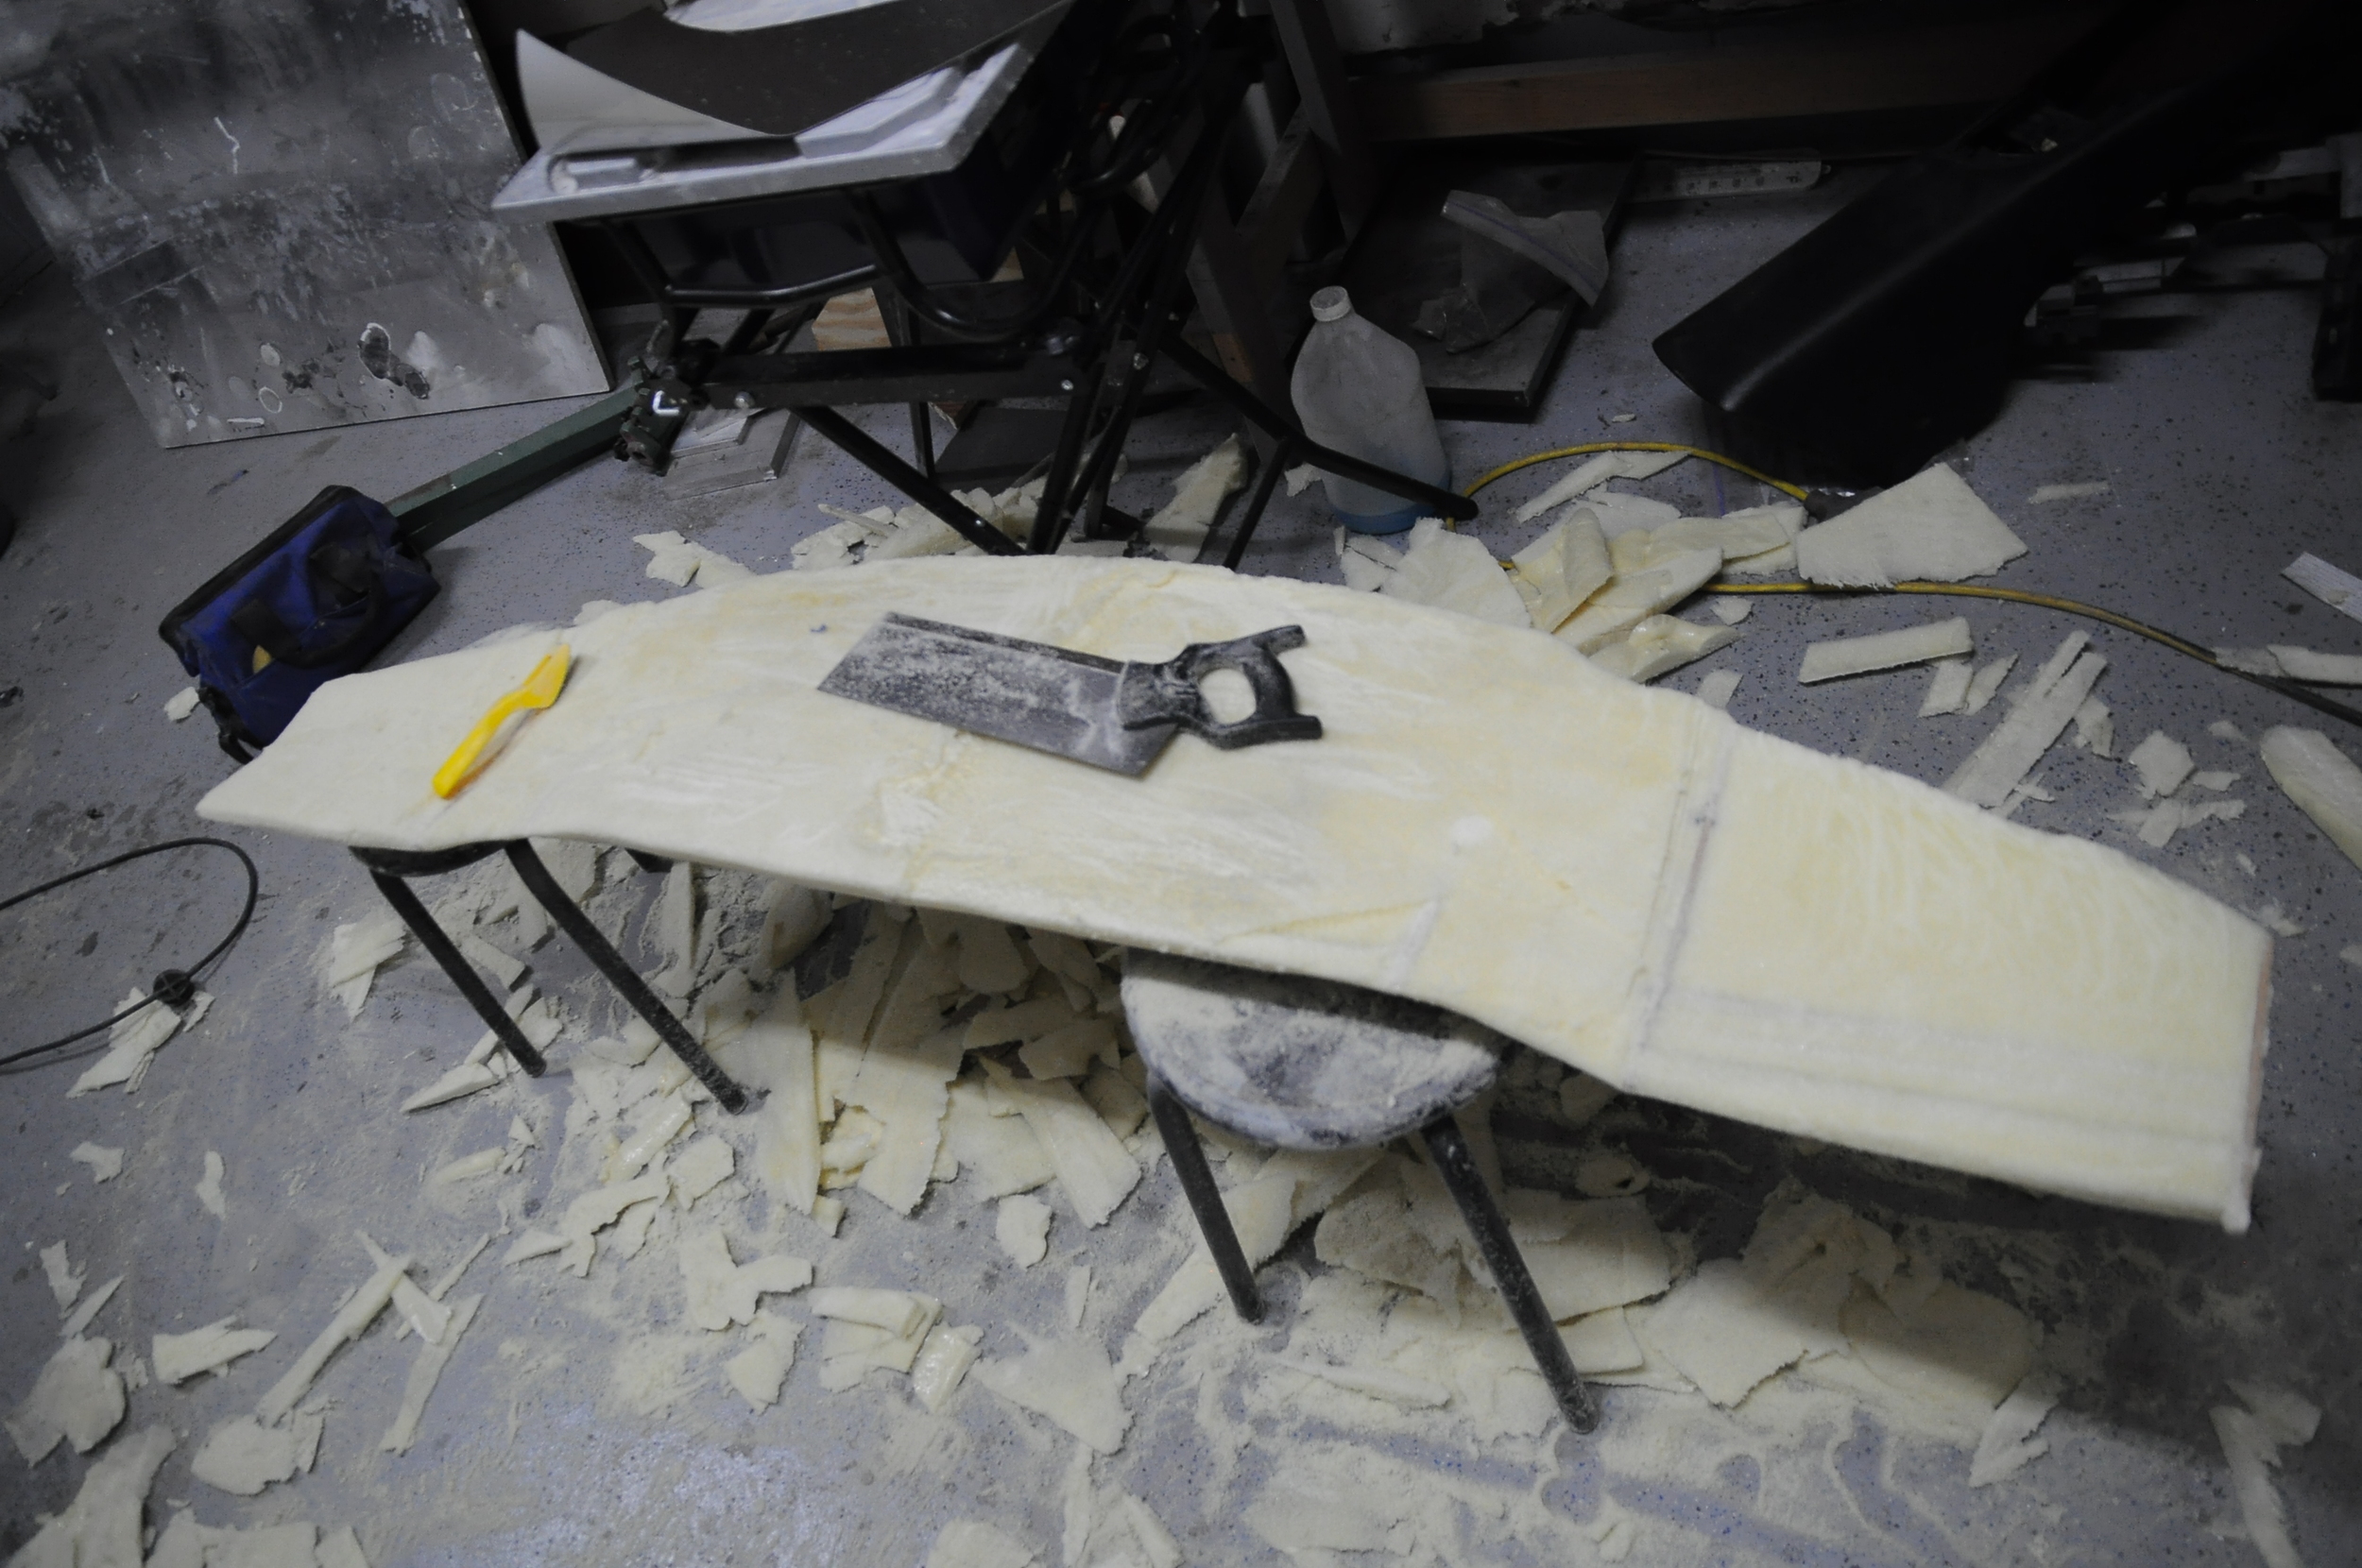
Lastly, I began the layer of body filler. This is done to smooth out the foam since its still pretty porous. This is what a gallon of bondo looks like... Hahaha just kidding, there's not that much on it, and its just a skim coat. I probably should have use the cheaper stuff since there is a lot more refining and finishing to be done but I was impatient and I only had the good stuff on me as 99% of all my stuff has already made its way to the new shop.
Also just for those concerned about strength and integrity of this wing, note this is just the plug. (A plug is a representation of the part you are trying to make and can be made up of a Frankenstein variety of materials.) Once the plug is made, then the mold will me made off the plug. Then the actual part will be made from the mold and the plug is usually destroyed/discarded in the process.
As she sits: